Refinishing timber floors is a rewarding project that can breathe new life into your home’s interior. In this guide, we’ll walk you through the step-by-step process of refinishing your timber floors, ensuring a smooth and successful transformation.
Assessing the Condition
Take a moment to evaluate their current condition. Examine the floors under natural light. This helps you spot scratches, stains, or signs of wear more easily.
Thoroughly inspect the entire floor surface. Pay close attention to high-traffic areas and spots prone to damage, such as near doorways or under furniture. Look for imperfections like deep scratches or stubborn stains.
Make note of any imperfections or areas needing special attention, such as wood scratches, water stains, or worn-away finishes.
Prepare for refinishing by checking the condition of your timber floors. This planning helps anticipate challenges and gather necessary materials and tools beforehand.
Gathering Materials
Let’s get ready to tackle those timber floors! But before we get into it, we’ve got to make sure we’ve got everything we need.
Sandpaper Selection: Grab a variety of sandpaper, from the coarse stuff for heavy-duty sanding to finer grits for a smoother finish. Aim for grits ranging from around 40 for heavy sanding to 120 for finishing touches.
Floor Finish: Choose the right floor finish for your timber floors, whether it’s oil-based, water-based, or solvent-based.
- Oil-based finishes provide a rich, warm tone and excellent durability, though they may yellow over time.
- Water-based finishes are eco-friendly, quick-drying, and maintain the wood’s natural color without yellowing.
- Solvent-based finishes offer robust durability and may provide a more traditional finish option depending on the specific product.
Consider the level of shine you desire—opt for gloss for a shiny, reflective surface, matte for a subdued look, or low sheen for a subtle shine.
Applicator Arsenal: Brushes, rollers, or applicator pads—take your pick!
Safety Gear: Protect those peepers with a sturdy pair of goggles, and don’t forget your trusty respirator to keep those fumes at bay.
Extra Supplies: Rags for wiping, drop cloths for protecting, painter’s tape for precision, and any other products recommended for your specific project.
Once you’ve got all your gear in check, you’re ready to rock and roll! With everything prepped and ready to go

Preparing the Surface
Thorough Cleaning: Thoroughly clean the floor to remove any dirt, dust, or residue that may affect the adhesion of the new finish. Use a vacuum with a brush attachment to remove debris from the surface, followed by wiping it down with a tack cloth to pick up any remaining dust particles.
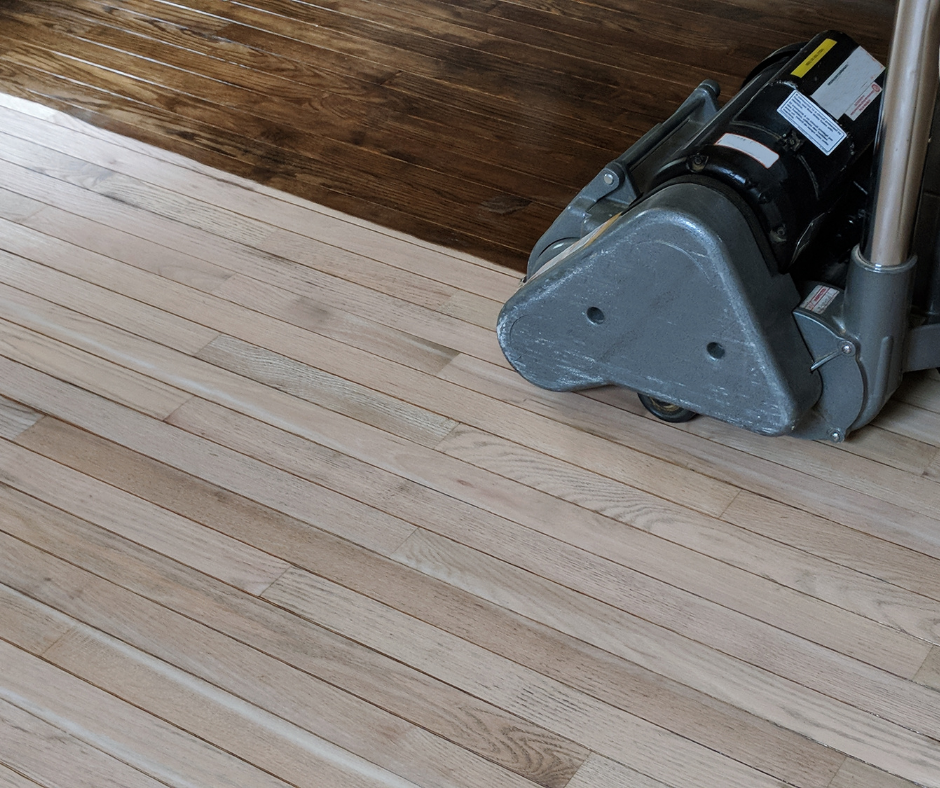
Sanding: Once the surface is clean, it’s time to sand the timber to remove the old finish and smooth out any imperfections.
Start sanding with coarse-grit sandpaper (around 60-80 grit) to effectively strip away the existing finish, working in the direction of the wood grain.
Gradually progress to finer grits, such as medium-grit (around 100-120 grit) and then fine-grit (around 150-180 grit), to achieve a smooth and uniform surface. Take care to sand evenly and avoid over-sanding, which can result in uneven patches or damage to the timber.
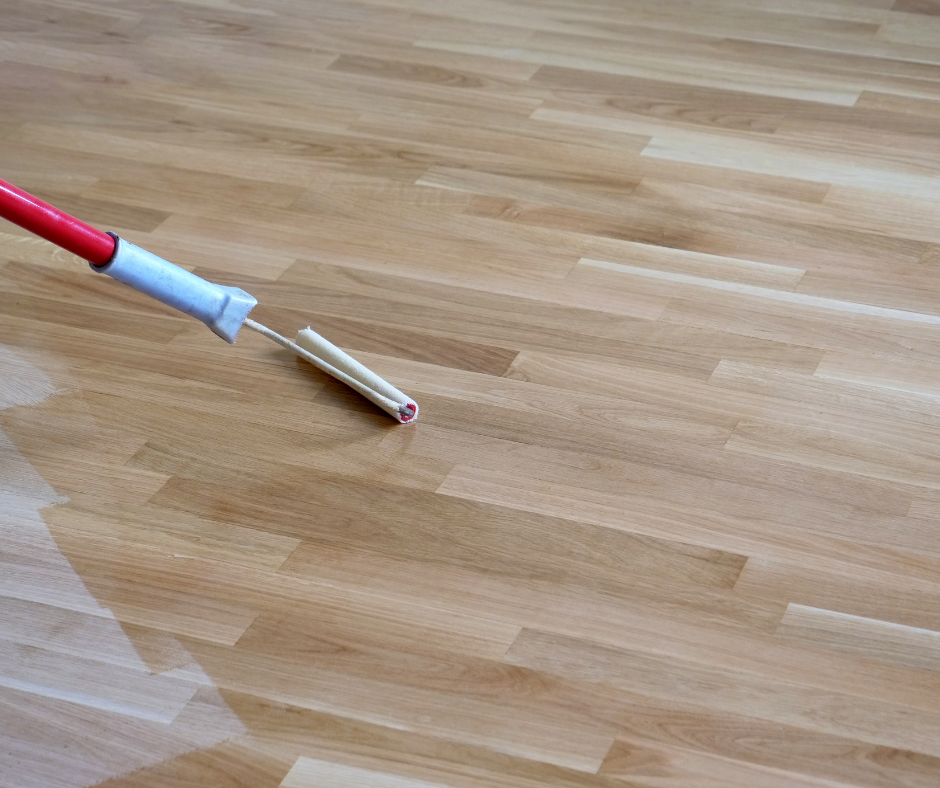
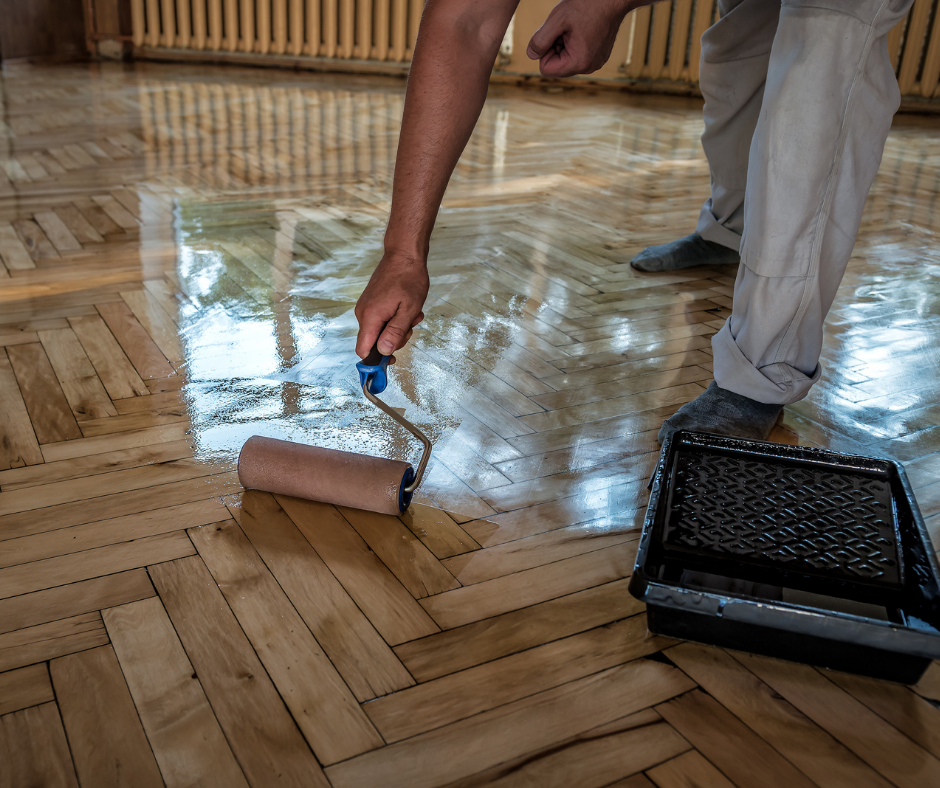
Applying the Finish
Choose the Right Finish: Be sure to refer back to your list of gathered materials to help you make an informed decision on what finish you’d like to go with. Consider factors like the type of timber, desired level of durability, and preferred sheen. If you’re unsure, don’t hesitate to seek advice from a professional.
Read the Instructions: Once you’ve chosen your finish, carefully read and follow the manufacturer’s instructions for optimal results. This step is crucial for achieving the best outcome.
Application: Using a brush, roller, or applicator pad, apply the finish evenly onto the sanded surface, following the direction of the wood grain. Start from one corner and work your way across the floor in manageable sections. Apply thin, overlapping coats to gradually build up the desired level of protection and sheen. Be mindful not to overapply, as this can result in drips or uneven coverage.
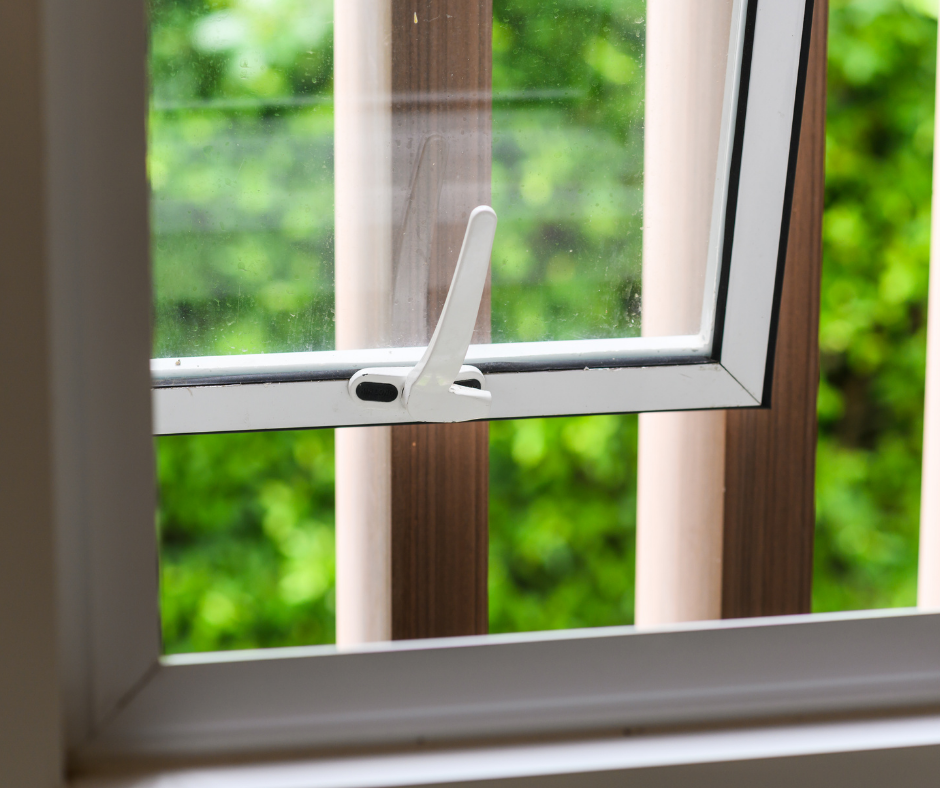
Drying Time: Once you’ve applied the finish, allow each coat to dry completely according to the manufacturer’s recommended drying time. As a general rule of thumb, this can take anywhere from 4 to 8 hours per coat, depending on factors like temperature and humidity. To speed up the drying process, you can have a fan going or leave a window open to help circulate air and expedite the drying time.

Drying Time
Follow Manufacturer’s Instructions: First things first, always follow the manufacturer’s instructions for the chosen finish regarding drying times. These instructions are your best guide and can vary depending on the type of finish and environmental conditions.
Know Your Finishes: Here’s a general guideline for how long different finishes typically take to dry:
- Water-based finishes: These tend to dry faster, usually within 2 to 4 hours for each coat.
- Oil-based finishes: These may take a bit longer to dry, typically between 6 to 8 hours for each coat.
- Solvent-based finishes: Generally require a longer drying time than water-based counterparts. Depending on factors like temperature and humidity, they typically take between 8 to 24 hours to dry to the touch.
Proper Ventilation: During the drying process, ensure proper ventilation in the room. This helps to facilitate the evaporation of solvents and promotes faster drying. Consider opening windows or using fans to improve airflow.
Avoid Foot Traffic: Avoid walking on the floors or placing furniture on them until the finish has fully cured. This may take several hours to a few days, depending on the product and conditions. Be patient and allow ample time for the finish to cure completely.

Brighten up your space with Done Right Flooring. Get a free estimate today!
Adding Additional Coats (Optional)
For the ultimate protection and a gorgeous finish, you might want to consider adding extra coats of finish to your refinished timber floors. These additional coats not only boost durability but also deepen the richness of the wood’s color and grain, making your floors even more attractive.
Before you start, make sure each previous coat has dried completely, as per the manufacturer’s instructions. Once dry, lightly sand the surface with fine-grit sandpaper to ensure a smooth finish and good adhesion.
In Conclusion
Refinishing your timber floors is a rewarding endeavor that can breathe new life into your living space.
Following these step-by-step instructions, you can assess the condition of your floors, gather the necessary materials, prepare the surface, apply the finish, and allow for proper drying time. Whether you’re restoring worn floors to their former glory or giving them a fresh new look, refinishing timber floors is a cost-effective way to enhance the beauty and value of your home.
Remember to take your time, follow safety precautions, and enjoy the process of transforming your floors into stunning focal points that you can admire for years to come. With patience, attention to detail, and the right techniques, you can achieve professional-quality results that will leave your timber floors looking amazing and well-protected.