As Professionals at Done Right Flooring, staining timber floors can seem daunting, but with the right guidance, anyone can achieve professional-looking results.
In this comprehensive guide, we’ll walk you through the step-by-step process of staining your timber floors, from preparation to finishing touches.
Equipment Needed
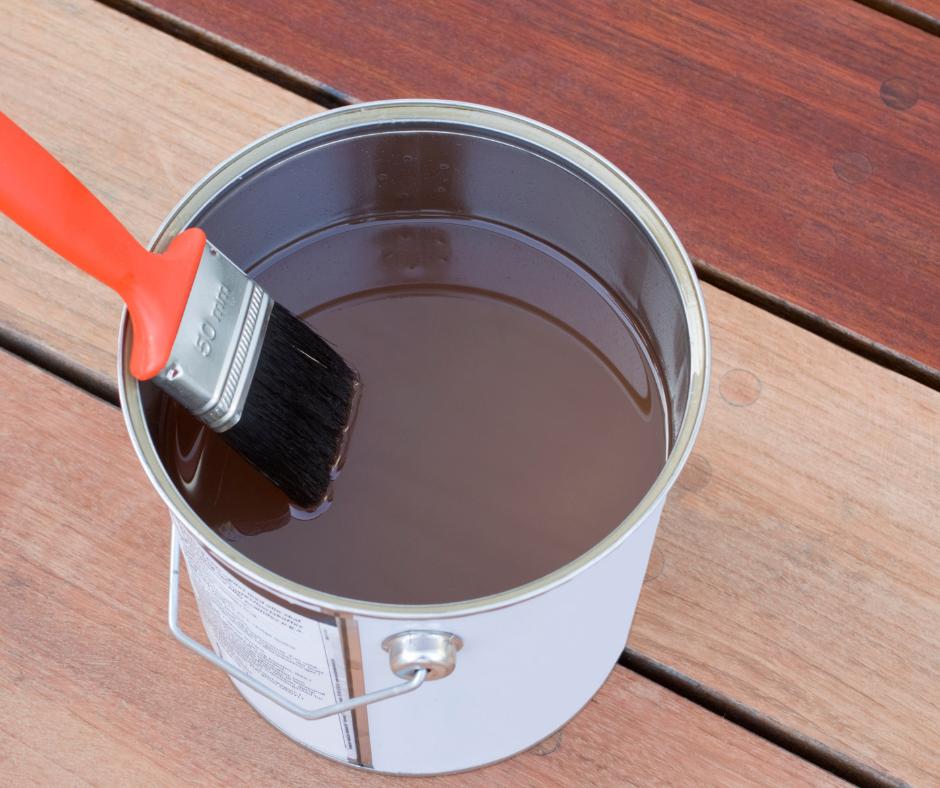
When staining your timber floors, it’s essential to gather all the necessary equipment and materials. Having the right tools will ensure that the staining process goes smoothly and yields professional-looking results. Here’s a list of essential equipment you’ll need:
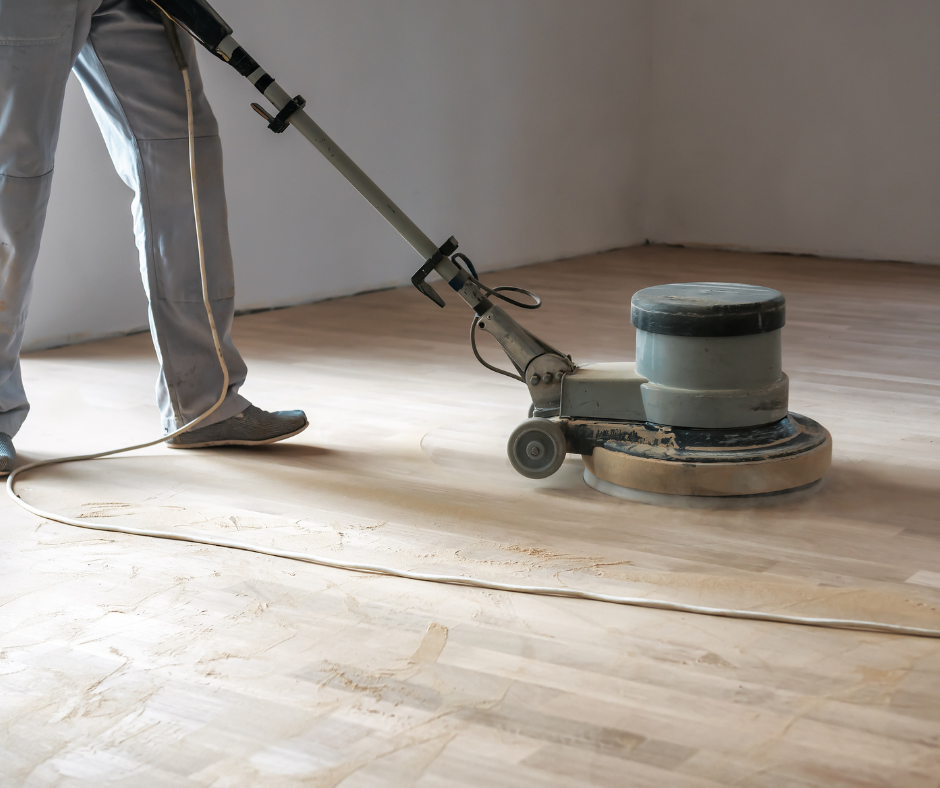
Sanding equipment (sander, sandpaper)
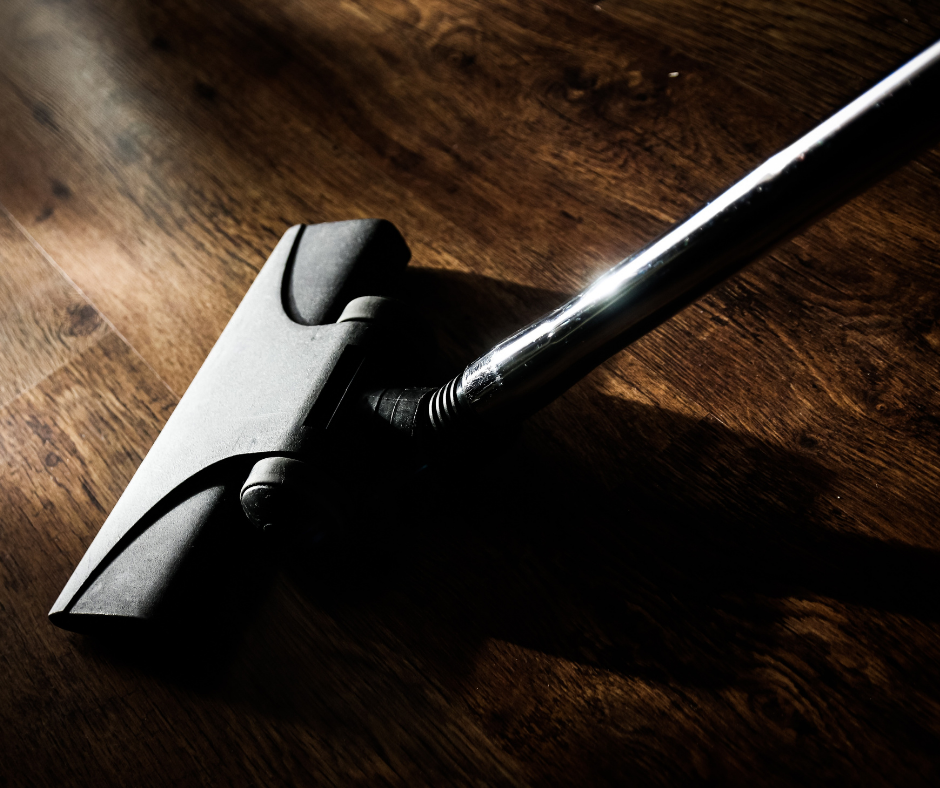
Vacuum cleaner or broom
Tack cloth or microfiber cloth
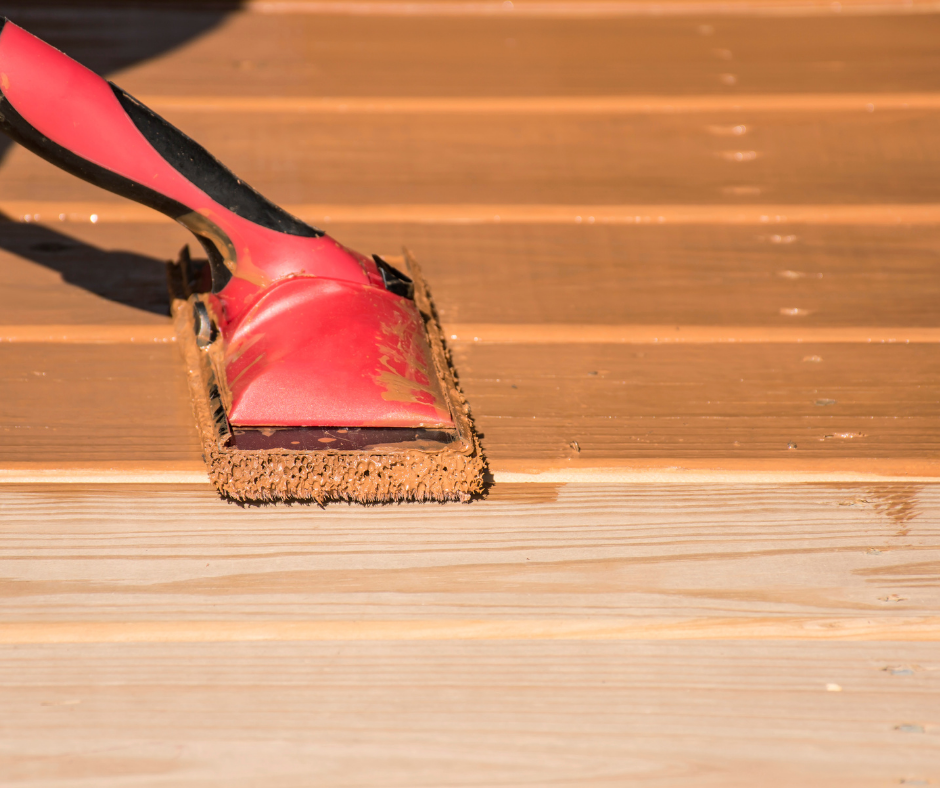
Stain applicator (brush, roller, or applicator pad)
Stain of your choice
Protective finish (varnish, polyurethane, or wax)
Paint tray or bucket
Gloves and safety goggles
You can rent sanding equipment if you prefer to do it yourself, or hire professionals to sand your floors for a thorough and clean preparation before staining. Professionals will typically perform a flush and clean, which involves sanding the floor to prepare it for the staining process. Ensure you choose high-quality tools and materials to achieve the best results.
Give your floors a makeover! Contact Done Right Flooring for a free quote.
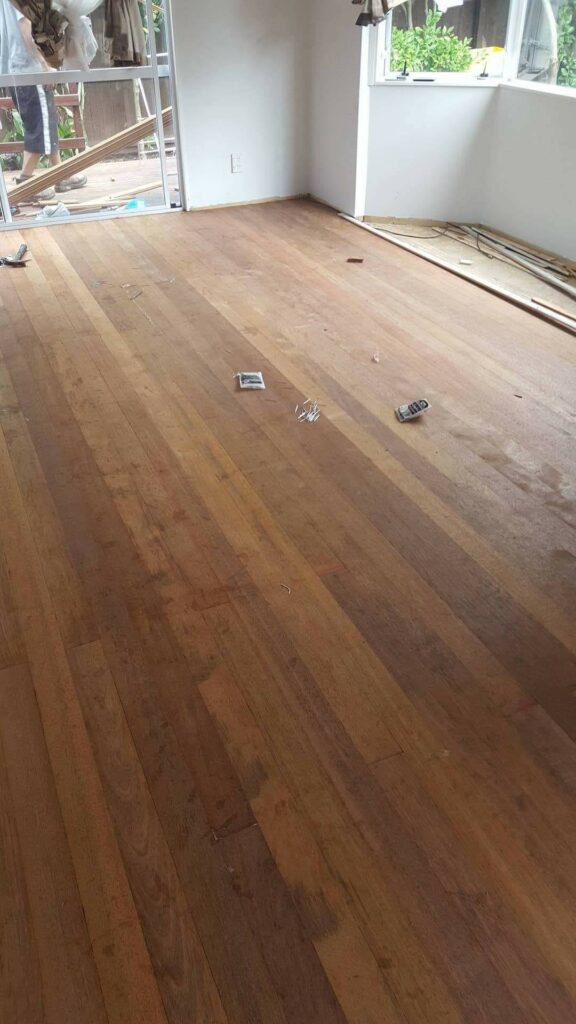
Preparing the Timber Surface
Alright, let’s get those timber floors ready for staining! It’s all about prepping the surface right, so here’s what you need to do:
Sanding: First up, grab your floor sander or sandpaper and get ready to tackle those imperfections. Start with a coarse grit sandpaper, around 40-60 grit, to really rough up the surface and remove any old finish. Work your way up to a medium grit sandpaper, around 80-100 grit, to smooth things out a bit. Finally, finish off with a fine grit sandpaper, around 120-150 grit, for that super smooth finish.
Bye-bye Old Finish: Once the sanding is done, it’s time to say goodbye to any old finish or coatings that might still be hanging around. If needed, use stripping agents according to the manufacturer’s instructions to remove any stubborn residue. Alternatively, you can sand away the old finish using sandpaper.
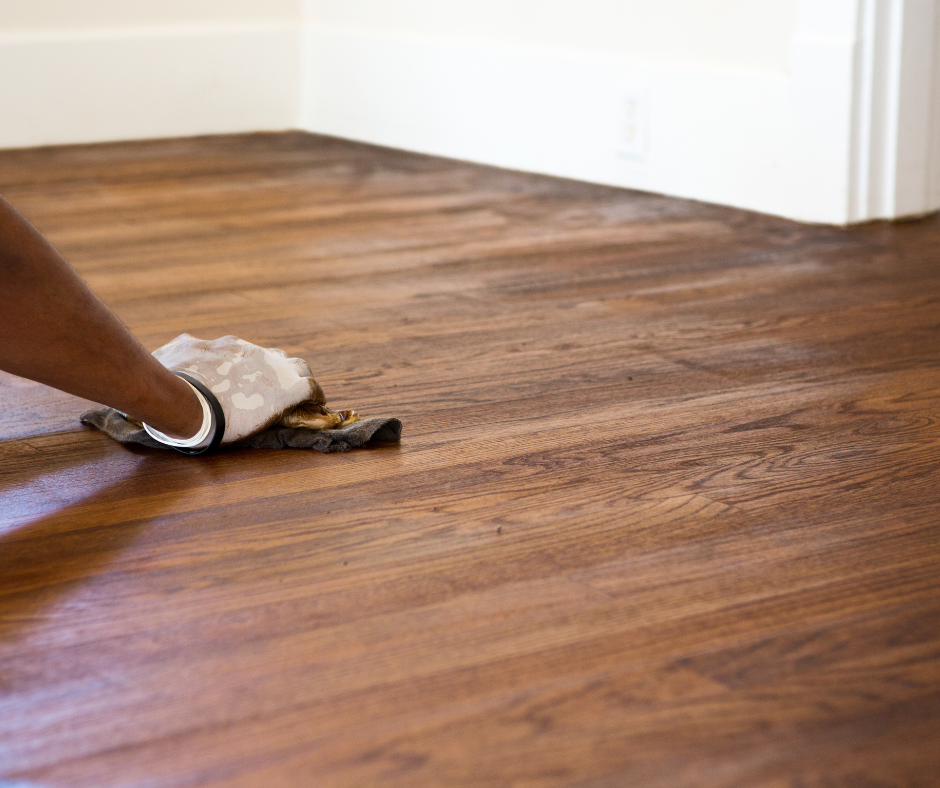
Cleaning Time: With the sanding and stripping out of the way, it’s time to give the surface a good clean. Grab your trusty vacuum cleaner or broom and get rid of all that dust and debris. Make sure the surface is clean and free from any loose particles before moving on to the next step.
Wipe It Down: Last but not least, give the surface a final wipe down with a tack cloth or a soft microfiber cloth. This will ensure it’s squeaky clean and free from any residue before you start staining.
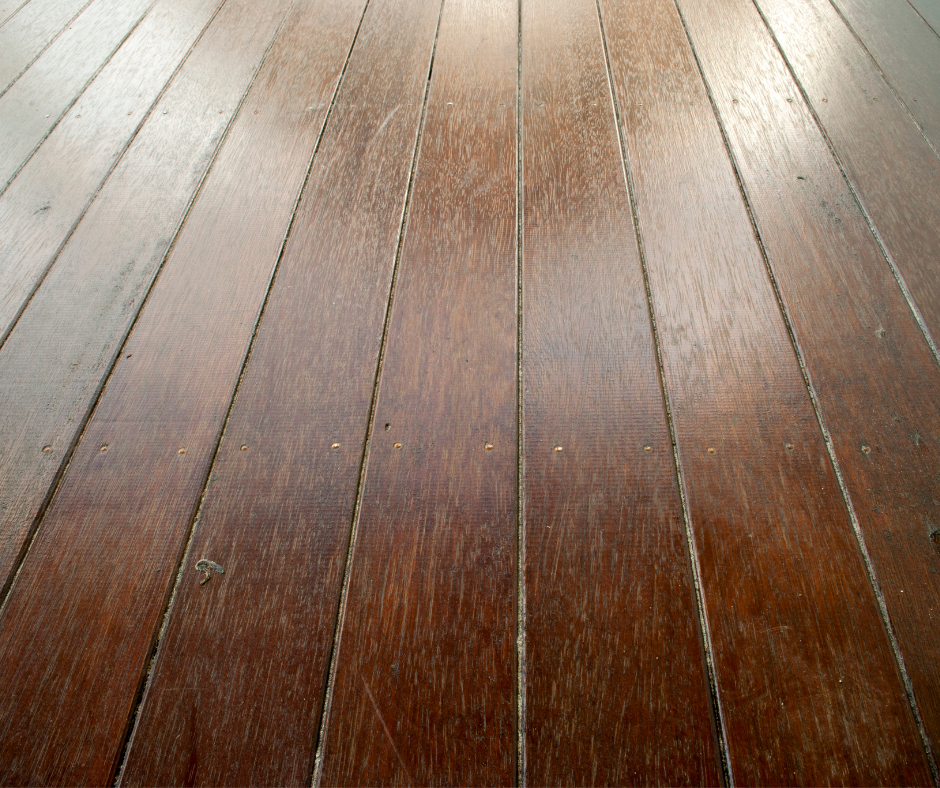
Following these steps with the right materials will have your timber floor surface primed and ready for a stunning stain job
Choosing the Right Stain
Alright, let’s talk stains for your timber floors! Picking the right one is key to getting that color and finish you’re dreaming of while making your wood’s natural beauty pop. Now, there’s quite the variety out there – oil-based, water-based, gel stains, you name it! Each has its own special qualities and perks.
Consider Your Wood Type: First off, think about what kind of wood you’re working with. Different species can react differently to stains, giving you all sorts of results. For instance:
- Kauri: Often looks fantastic with lighter stains that accentuate its natural golden hues.
- Tawa: Tends to shine with darker stains that bring out its rich, chocolatey tones.
- Matai: Looks stunning with medium to dark stains, enhancing its warm, reddish-brown color.
- Rimu: Typically pairs well with lighter stains, highlighting its beautiful grain patterns.
Color and Finish Choices: Next up, let’s talk about the fun stuff – color and finish! Do you fancy a lighter or darker shade? Matte, satin, or glossy finish? It’s all about personal preference, so take some time to figure out what suits your style and your space.
Test, Test, Test: Before you commit to covering your entire floor, it’s smart to do a little test run. Grab a small spot, maybe in a corner or under some furniture, and try out your chosen stain. This way, you can see how it looks and make any adjustments before going all-in.
Check the Details: Last but not least, don’t forget about the nitty-gritty details. How long does the stain take to dry? What’s the smell like? And how easy is it to clean up? Typically, oil-based stains can take anywhere from 24 to 48 hours to fully dry, while water-based stains usually dry within 4 to 6 hours. Oil-based stains may have a stronger odor compared to water-based ones. Consider these factors when making your decision.
With these tips in mind, you’ll be well on your way to picking the perfect stain for your timber floors.
Applying the Stain
When it comes to staining timber floors, choosing the right application method is key to achieving that perfect finish. You have a few options here: brushes, rollers, or applicator pads. Each method has its own perks, so let’s break it down.
For smaller areas or intricate designs, a brush might be your best bet. It gives you precise control and allows you to get into tight spots with ease. On the other hand, rollers are great for larger areas, covering more ground quickly and evenly. And if you want something in between, applicator pads offer a balance of control and coverage.
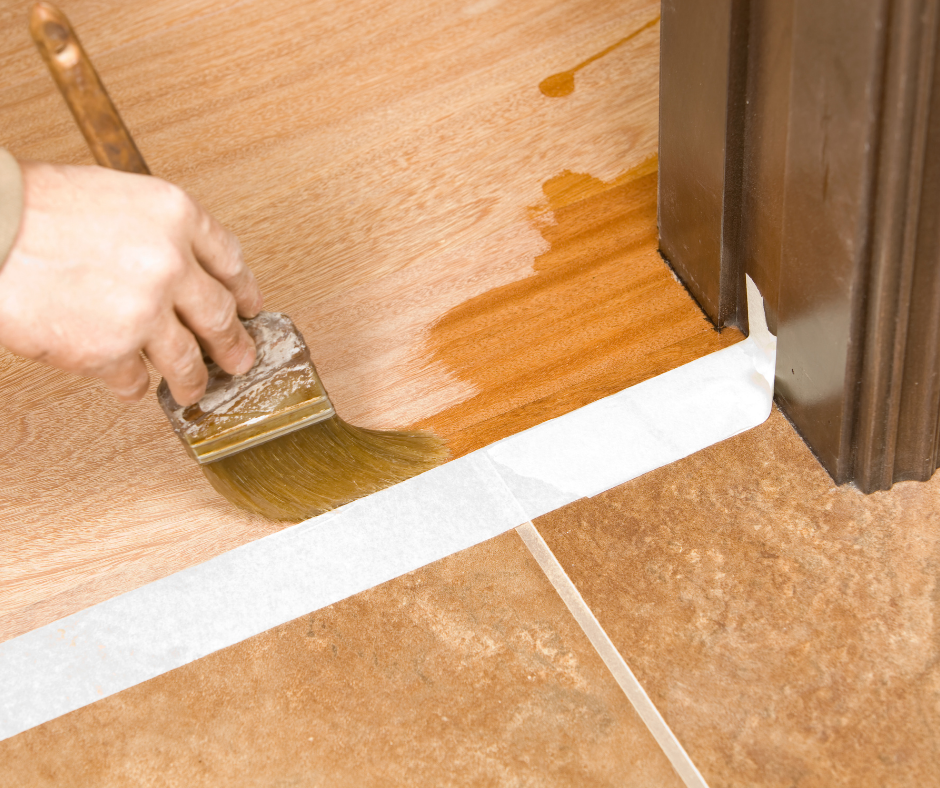
Applying the Stain: Now, let’s talk technique. Whether you’re using a brush, roller, or applicator pad, the key is to apply the stain in thin, even coats. This ensures uniform color distribution and prevents streaks or blotches.
Start by working in small sections, applying the stain along the grain of the wood. This helps the stain penetrate evenly into the timber pores, giving you a smooth, consistent finish. And remember, less is more! It’s easier to add more stain than to remove excess, so start with a light touch and build up as needed.
Drying Time and Coats: Once you’ve applied the first coat of stain, it’s time to play the waiting game. Make sure to follow the manufacturer’s instructions for drying time between coats. Typically, you’ll need to allow several hours for the stain to dry completely before applying additional coats.
The number of coats you apply will depend on the desired color intensity and depth. For a lighter shade, one or two coats may suffice. If you’re going for a richer hue, you may need to apply three or more coats, allowing each layer to dry thoroughly before adding the next.
Final Touches: After the final coat has dried, take a step back and admire your handiwork! But before you call it a day, be sure to clean up any tools or spills and properly dispose of any leftover stain or packaging. With the right application method and a little patience, you’ll have stunning timber floors that are sure to impress.
Considering a flooring upgrade? Start with Done Right Flooring – get in touch or call now!
Allowing for Drying Time
When it comes to staining timber floors, patience is key. Proper drying time ensures that the stain sets correctly, laying the foundation for a beautiful and long-lasting finish. Rushing this process can lead to all sorts of issues, like uneven color or poor adhesion, so it’s important to get it right.
Follow Manufacturer’s Instructions: First things first, always follow the manufacturer’s instructions when it comes to drying times. These guidelines take into account factors like temperature, humidity, and ventilation, all of which can affect how quickly the stain dries. Trust me, it’s worth taking the time to get this step right.
Factor in Environmental Conditions: Keep an eye on the weather! Cooler temperatures and higher humidity levels can slow down the drying process, so be prepared to wait a bit longer if conditions aren’t ideal. Give your floors the time they need to dry properly before moving on to the next coat or finishing.
Patience is Key: Once you’ve applied the stain, resist the urge to walk on or place furniture on the freshly stained floors. Trust me, those smudges and imprints aren’t worth it! Give your floors the space they need to dry completely and avoid any mishaps.
Speeding Up the Process: If you’re in a hurry or dealing with less-than-ideal conditions, there are a few tricks you can try to speed up the drying process. Fans and dehumidifiers can help improve air circulation and remove excess moisture from the air. Just be careful not to use direct heat sources, as they can cause the stain to dry too quickly and lead to uneven color.
Adding Additional Coats (Optional)
So, you’ve applied that first coat of stain to your timber floors, and now you’re thinking, “Hmm, could it be even better?” Adding extra coats is an optional step that lets you dial in the perfect color and finish for your floors. But before you dive in, there are a few things to keep in mind.
Assessing Color Intensity: Take a step back and assess the situation. Once that initial coat has dried completely, check out the color intensity. If you’re not quite there yet or if you’re aiming for a deeper hue, additional coats might be the way to go.
Applying Subsequent Coats: When it’s time to add those extra coats, stick to the game plan. Whether you’re brushing, rolling, or using an applicator pad, consistency is key. Make sure each coat goes on nice and even to avoid any streaks or patchy spots.
Drying Time Matters: Alright, I get it, waiting for things to dry isn’t exactly thrilling. But trust me on this one—patience is key. Give each coat the time it needs to dry completely before you even think about adding another layer. It might feel like forever, but hey, good things come to those who wait!
A Little Sanding Goes a Long Way: Now, I’m not suggesting you bust out the power tools and go to town on your floors. No, no, no. We’re talking about a gentle touch here. Just a quick once-over with some fine-grit sandpaper between coats can work wonders. It’ll smooth things out, tidy up any rough spots, and help that next coat stick like glue.
Less is More: Finally, a word of caution: don’t go overboard with the coats. Too many layers can lead to a sticky or tacky finish that nobody wants to deal with. So, take it easy and know when to call it quits. Your floors will thank you for it!
Sealing and Protective Finish
Now that your timber floors have dried completely from the staining process, it’s time for the final touch—sealing them with a protective finish. This step is essential for locking in the stain, boosting the floors’ durability, and preserving their visual appeal.
Pick Your Potion: Choosing the right finish is important for achieving the desired look and ensuring long-lasting protection. Whether you prefer a glossy sheen or a more natural appearance, there’s a finish out there to suit your style and keep your floors looking their best for years to come.
Looking to revitalise your space? Done Right Flooring is here to help. Contact us to begin!
In Conclusion
Staining your timber floors is a rewarding DIY project that enhances both the look and durability of your space.
By following these guidelines, you can achieve professional results and enjoy the beauty of your stained floors for years to come. From preparation to application and sealing, each step is essential for ensuring a successful outcome.
Whether you’re refreshing existing floors or adding charm to new ones, staining timber floors is a fantastic way to showcase the natural elegance of wood in your home.