Discover the style of engineered flooring, a favorite among homeowners looking for durable and versatile wooden floor alternatives. In this guide, we’ll break down the features, benefits, and installation process of engineered flooring.
Whether you’re renovating or building anew, understanding this flooring option helps you choose wisely. Join us as we look into the world of engineered flooring and discover how it can enhance your home.
Engineered Flooring
Engineered flooring offers a unique alternative to traditional wooden floor or laminate options. It’s crafted with multiple layers, including a real wood top layer for that authentic wooden floor look. This layered construction adds strength and durability, making it resistant to moisture and warping.
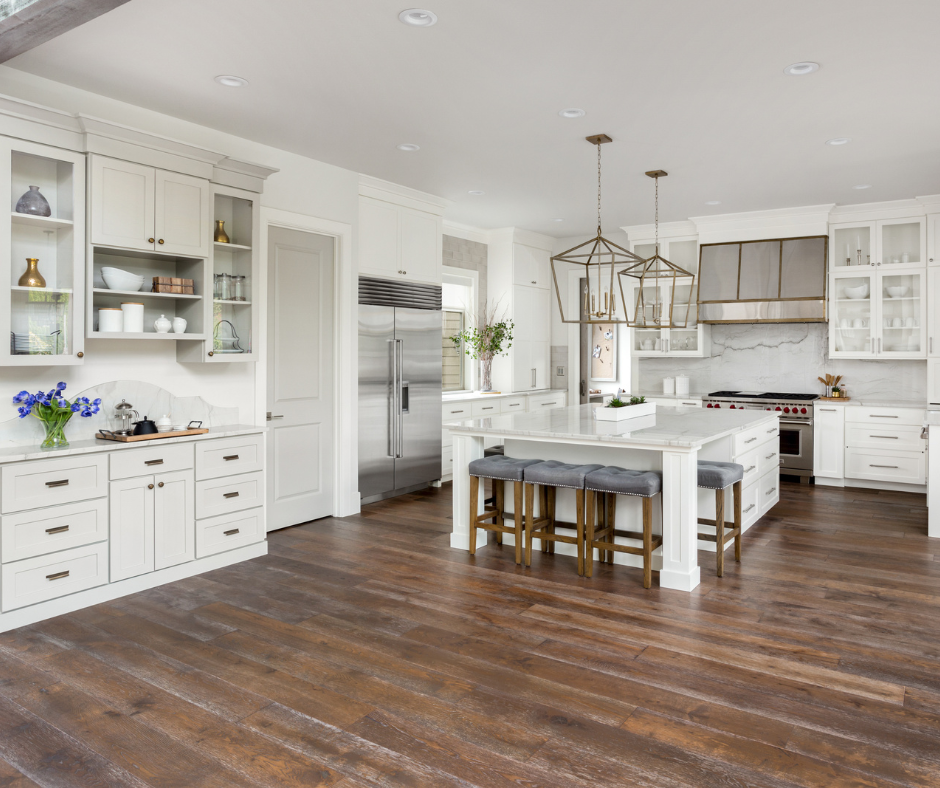
This durability makes engineered flooring a smart choice for areas like kitchens and bathrooms where humidity levels can fluctuate. It’s also versatile in installation methods, allowing for floating, gluing, or nailing down, depending on your preference and needs.
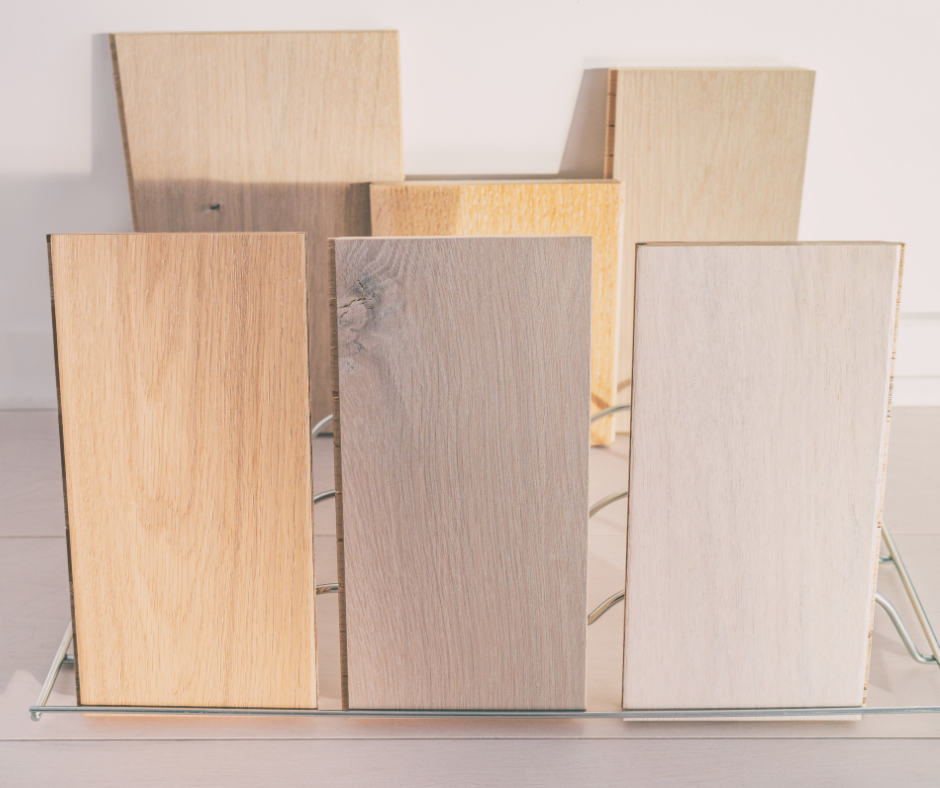
With a wide range of wood species, finishes, and styles available, engineered flooring offers plenty of design options to suit any space. Whether you prefer the classic charm of oak or the modern style of maple, there’s an engineered flooring option for you.
Whether you’re renovating your current home or building a new one, engineered flooring provides both durability and style, making it a popular choice among homeowners.
Types of Engineered Flooring:
- Oak: Oak flooring often features prominent grain patterns and can vary in color from light to medium brown.
- Maple: Maple flooring is known for its uniform appearance, with a fine, straight grain and a range of color options from creamy white to light reddish-brown.
- Hickory: Hickory flooring is recognised for its strength and distinctive grain patterns, which can include knots, mineral streaks, and color variations ranging from pale white to rich reddish-brown.
- Walnut: Walnut flooring has rich, dark tones and elegant appearance, with a smooth surface and occasional swirls or burls in the grain.
- Cherry: Cherry flooring with warm, reddish-brown hues and smooth, uniform grain, often featuring natural colour variations that add depth and character to the wood.
Benefits of Engineered Flooring
Engineered flooring combines the beauty of wooden floors with modern practicality. Here are its advantages:
- 1. Durability: Engineered flooring is made by stacking layers of wood together under high pressure. This makes it stronger and more durable, so it doesn’t get dented or scratched easily like solid wooden floors.
- 2. Moisture Resistance: Engineered flooring doesn’t expand, contract, or warp as much as solid wooden floors when humidity or moisture levels change. That’s why it’s great for places where regular wooden floors might not work well, like basements, bathrooms, or kitchens.
- 3. Ease of Installation: Engineered flooring usually comes in planks or tiles with easy-to-connect edges, so you can install it in different ways, like floating, gluing, or nailing. Its consistent thickness and stability often let you install it right on top of existing subfloors, which saves time and money.
- 4. Versatility: Engineered flooring comes in many wood types, colors, and finishes, so you can get the look you want without sacrificing durability. Whether you like classic oak, sleek maple, or exotic acacia, there’s an engineered flooring choice for every style.
- 5. Cost-Effectiveness: Even though engineered flooring might cost more upfront, its durability and easy upkeep make it a smart long-term investment. With the right care, it can last for decades.
Ready to Transform Your Home? Contact Done Right Flooring for Professional Installation.
Installation Process
Installing engineered flooring is a rewarding project that can transform the look and feel of your home. Let’s break down the installation process step by step:
1. Preparation: Prepare the subfloor to ensure a smooth and stable surface. Remove any existing flooring materials, such as carpet, tile, or wooden floors, and thoroughly clean the subfloor to remove dirt, dust, and debris. Repair any uneven areas or damage to the subfloor as needed to create a level surface.
2. Acclimation: Before installing the engineered flooring, allow the planks to acclimate to the environment by placing them in the room where they will be installed for at least 48 hours. This helps to minimise the risk of expansion or contraction after installation.
3. Layout: Plan the layout of the flooring planks to achieve the desired aesthetic and minimise waste. Determine the direction of the planks, taking into account factors such as natural light, room size, and architectural features. Consider dry-fitting several rows of planks to ensure a balanced and visually appealing layout.
4. Installation: Depending on the installation method you’ve chosen, proceed to install the engineered flooring planks accordingly:
- Glue-down Installation: Apply adhesive to the subfloor using a trowel, then carefully place each plank into the adhesive, ensuring a tight fit between planks.
- Nail-down Installation: Use a pneumatic flooring nailer to secure the planks to the subfloor, driving nails at an angle through the tongue of each plank and into the subfloor.
- Floating Installation: Lay down a moisture barrier underlayment over the subfloor, then interlock the tongue and groove edges of the planks to create a floating floor. Use spacers to maintain expansion gaps around the perimeter of the room.
5. Finishing Touches: Once all the planks are installed, trim any excess underlayment or projecting tongues, and install transition strips or moldings as needed to cover expansion gaps and provide a finished look. Lastly, thoroughly clean the newly installed flooring to remove any installation debris.
Maintenance and Care
Keeping your engineered flooring in good shape is important for its long-term beauty and durability. Let’s look at some simple ways to clean and protect your floors:
1. Regular Cleaning: To keep your engineered floors looking their best, sweep or vacuum regularly to remove dirt, dust, and debris. Use a soft-bristled broom or a vacuum cleaner with a wooden floor attachment to avoid scratching the surface. For deeper cleaning, damp mop the floors with a mild, metholated spirits mixed in water, being careful not to saturate the floors.
2. Protective Measures: Prevent scratches and dents by placing felt pads under furniture legs and using rugs or mats in high-traffic areas to capture dirt and moisture. Avoid dragging heavy furniture across the floors and consider using floor protectors on chair legs to minimise damage.
3. Moisture Management: Engineered flooring is more resistant to moisture than solid wooden, but it’s still essential to prevent water damage. Wipe up spills promptly using a dry or slightly damp cloth, and avoid excessive moisture buildup by using mats near entryways and wiping off wet footwear before entering the house.
4. Avoid Harsh Cleaners: Steer clear of harsh cleaning products, abrasive scrubbers, or steam cleaners, as they can damage the protective finish of engineered flooring. Stick to the metholated spirits mix and will be good to go.
5. Periodic Maintenance: Periodically inspect your engineered floors for signs of wear, such as scratches, dents, or dullness. Consider recoating the floors with a fresh layer of finish every few years to rejuvenate the surface and protect against damage.
Upgrade to Engineered Flooring Today! Get a Free Quote.
Conclusion
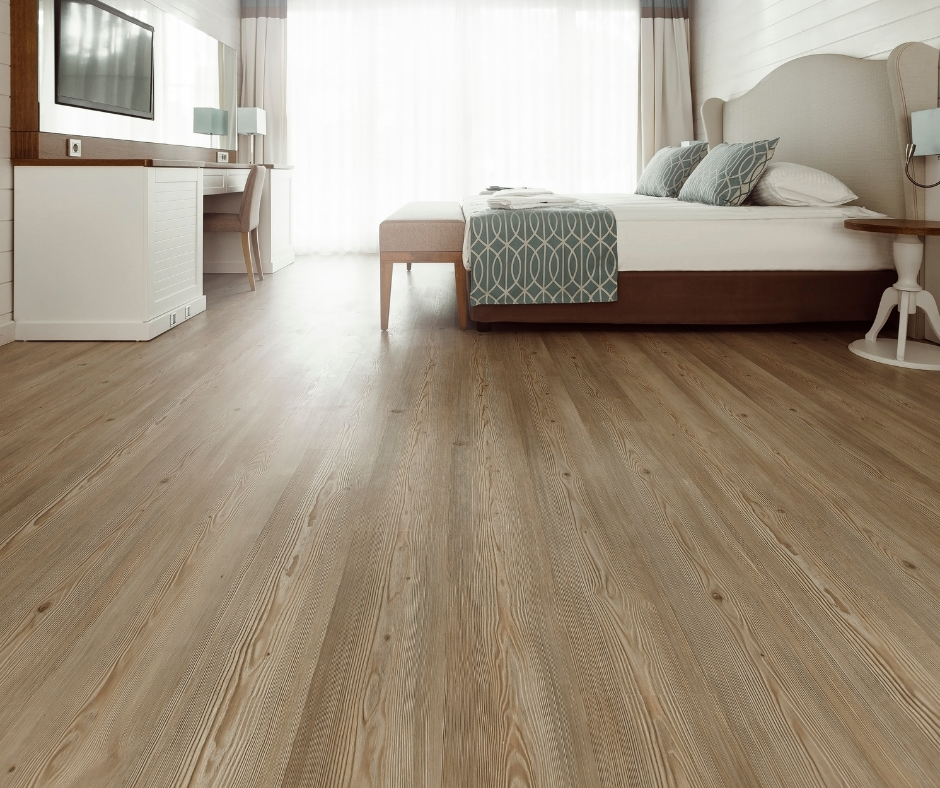
Engineered flooring is a sturdy and stylish choice for those who want wooden floor’s beauty with extra stability and moisture resistance.
With the tips in this guide, you can keep your engineered floors looking great for years. Think about using engineered flooring for your next home project and enjoy its classic look and modern features.