When it comes to reviving tired wooden floors, floor sanding is an important step. But to get the job done right, you’ll need the right equipment.
In this guide, we’ll walk you through the essential tools and equipment needed for floor sanding. Whether you’re a DIY enthusiast or a first-time floor renovator, understanding the equipment required will help you achieve professional-quality results.
What is Floor Sanding
What is Floor Sanding?
Floor sanding is the process of restoring wooden floors from old to new, smoothing out imperfections, and revealing the natural beauty of the wood beneath. Whether your floors are showing signs of wear and tear or you simply want to refresh their appearance, floor sanding can make a world of a difference.
Why is it Important?
Over time, wooden floors can become worn, scratched, and dull due to foot traffic, spills, and general wear and tear. Floor sanding is essential for refreshing these tired floors and bringing them back to life. By sanding away surface imperfections and old finishes, revealing the natural beauty of the wood with a fresh shine.
The Process
The floor sanding process typically involves several key steps. First, any furniture and obstacles are removed from the room to create a clear workspace. Next, the floor is thoroughly cleaned to remove any dirt, dust, or debris that could interfere with the sanding process.
Once the floor is clean, the sanding equipment is used to gradually sand down the surface, starting with coarse sandpaper to remove old finishes and surface imperfections, and progressing to finer grits for a smooth, even finish.
Benefits of Floor Sanding
There are numerous benefits to floor sanding. Not only does it improve the appearance of your floors, but it also helps to prolong their lifespan by removing surface damage and protecting the wood beneath. Additionally, sanding allows you to customise the finish of your floors, whether you prefer a matte, lo sheen or glossy look.
Transform your floors with us! Contact Done Right Flooring for professional sanding.
Essential Equipment
Having the right tools for the job is key. Here are the main pieces of equipment you’ll need to complete your floor sanding project:
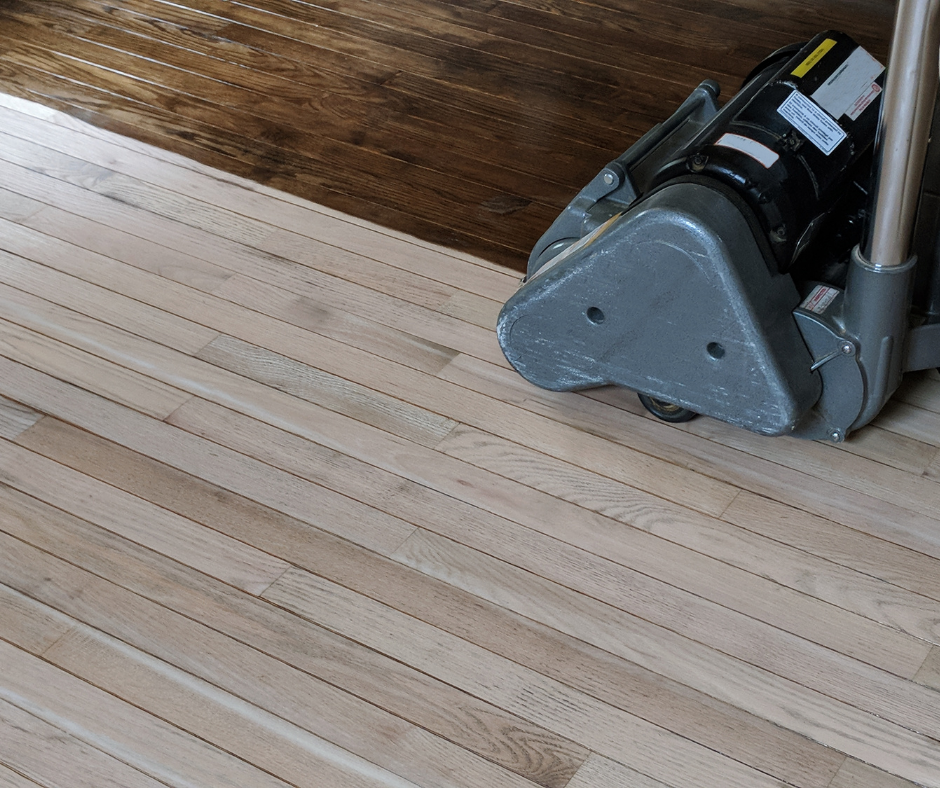
- Drum Sander: The drum sander is the workhorse of the floor sanding process. It’s used to sand large areas of the floor quickly and efficiently. The drum sander is equipped with a rotating sanding drum that removes old finishes and surface imperfections.
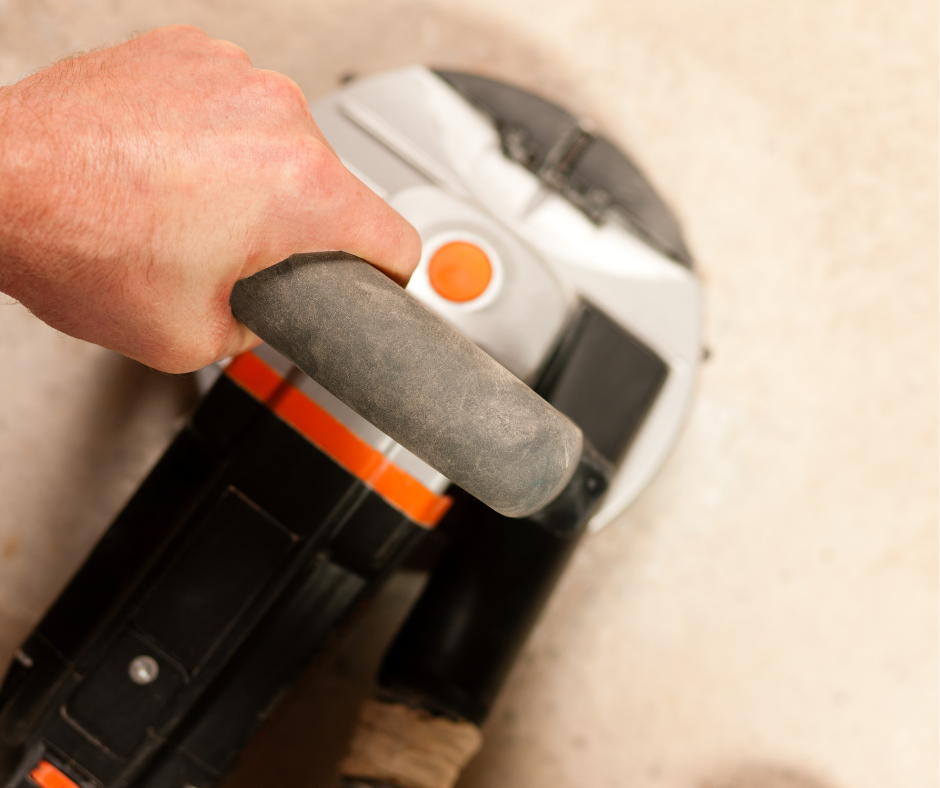
- Edger: The edger is used to sand areas of the floor that are difficult to reach with the drum sander, such as along walls and in corners. It’s smaller and more maneuverable than the drum sander, good for detailed sanding work.
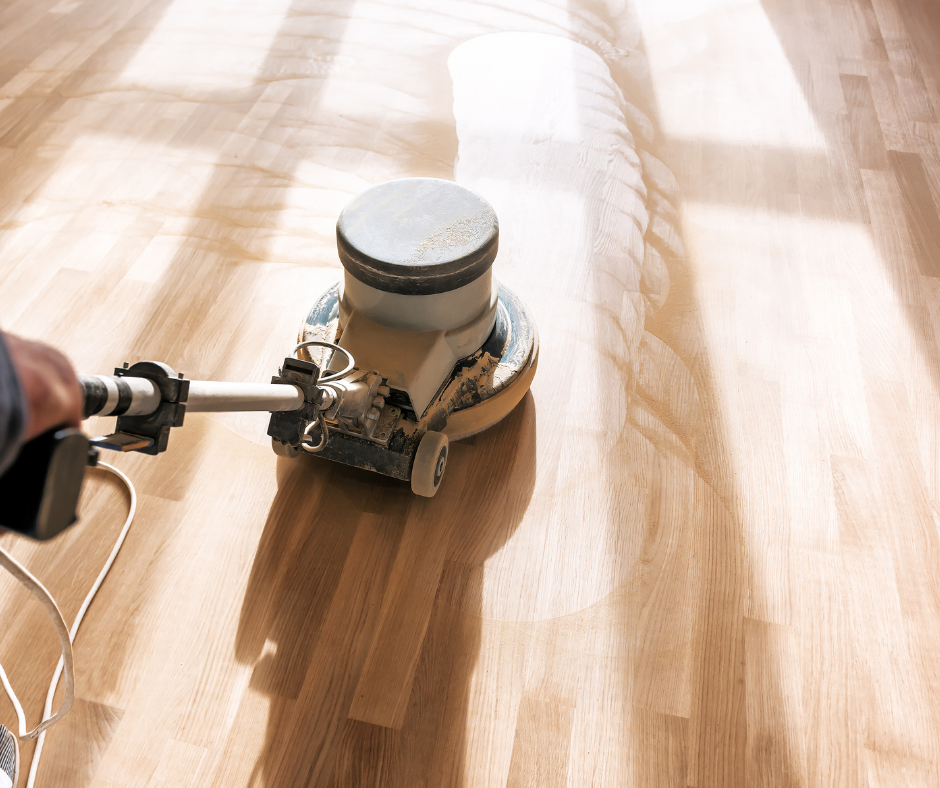
- Buffer: Once the main sanding is complete, the buffer is used to smooth out any remaining imperfections and to prepare the floor for finishing. The buffer is equipped with a rotating pad that buffs the surface of the wood to a smooth, even finish.
- Vacuum: Vacuuming the work area helps keep it clean and free of dust and debris. It’s essential for removing sanding dust between sanding passes and ensuring a clean surface for finishing.
Additional Equipment
In addition to the main sanding equipment, there are a few other tools and accessories that can come in handy during the floor sanding process:
- Sanding Pads: Sanding pads are used to attach sandpaper to the drum sander and buffer. They come in various grits, ranging from coarse to fine, depending on the stage of sanding.
- Safety Gear: Safety gear, including goggles, ear protection, and a dust mask, is essential for protecting yourself from dust and debris during sanding.
- Scraper: A scraper can be useful for removing stubborn stains or adhesives from the surface of the wood before sanding.
- Rubbish Bags: Keep plenty of rubbish bags on hand for collecting sanding dust and debris. This will help keep your work area clean and make cleanup easier after the sanding is complete.
Safety Precautions
Safety is paramount when it comes to floor sanding. Here are some essential precautions to keep in mind to protect yourself and others during the sanding process:
- Wear Protective Gear: Always wear.
- Safety goggles
- Ear protection
- Dust mask
- Work gloves
These items will help protect you from dust, debris, and noise while sanding.
- Proper Ventilation: Proper ventilation is important to prevent the buildup of dust and fumes in the work area. Open windows and doors, and use fans or exhaust systems to improve airflow.
- Secure Loose Clothing: Avoid wearing loose clothing or jewelry that could get caught in the sanding equipment. Go for snug-fitting attire and tie back long hair to minimise the risk of accidents.
- Inspect Equipment: Inspect all sanding equipment to ensure it’s in good working condition. Check for any loose or damaged parts that may pose a safety hazard during operation.
- Follow Manufacturer Guidelines: Read and follow the manufacturer’s instructions for operating each piece of equipment carefully. Improper use of sanding tools can lead to accidents or damage to the floors.
- Use Caution on Stairs: Exercise caution when sanding stairs to prevent slips and falls. Secure the sanding equipment and use a handheld sander or edger for better control on elevated surfaces.
- Keep Children and Pets Away: Keep children and pets out of the work area during sanding to prevent accidents and exposure to harmful dust and fumes.
Refresh your floors with ease! Trust Done Right Flooring for professional coating.
Tips and Techniques
To master floor sanding, you need more than just the right equipment. It’s about using the right techniques and strategies. Here are some tips to help you get great results:
- Choose the Right Grit Sandpaper: Choosing the right sandpaper grit is key for getting the finish you want. Begin with a coarse grit to tackle old finishes or imperfections, then move to finer grits for a smoother surface. For example, you might start with 40 or 60 grit and move up to 80 or 100 grit for a smoother finish.
- Maintain a Consistent Sanding Pattern: When sanding, move the equipment in a consistent pattern, such as back and forth or in a circular motion. Avoid lingering in one spot for too long, as this can create uneven patches on the floor.
- Overlap Each Pass: To ensure even sanding and avoid creating visible lines or ridges, overlap each pass by about one-third of the sander’s width. This helps blend the sanding strokes and achieve a uniform surface.
- Sand Along the Grain: Always sand parallel to the wood grain to prevent unsightly scratches and maintain the natural appearance of the wood. Sanding against the grain can result in visible marks that are difficult to remove.
- Check for Smoothness: Periodically stop and inspect the sanded surface for smoothness and uniformity. Run your hand across the floor to feel for any rough spots or inconsistencies that may require additional sanding.
- Address Edges and Corners: Use a handheld edger or detail sander to sand hard-to-reach areas, such as edges, corners, and tight spaces along walls and baseboards. Pay close attention to these areas to ensure a seamless finish.
- Clean Between Grit Changes: After each grit change, thoroughly clean the sanding equipment and the work area to remove any debris or dust particles. Failure to do so can result in scratches or blemishes on the floor surface.
Conclusion
Mastering floor sanding equipment, adhering to safety precautions, and implementing effective techniques are essential for achieving professional-quality results.
With the right tools and safety measures, you can refresh your wooden floors and improve the beauty of your space. So, gather your equipment, follow safety guidelines, and start your floor sanding journey with confidence!