Are you planning to remove your laminate flooring but not sure where to start? Whether you’re renovating your space or preparing for new flooring installation, knowing how to remove laminate flooring is crucial. In this guide, Done Right Flooring professionals will provide you with step-by-step instructions and professional tips to make the process smooth and hassle-free.
Laminate Flooring
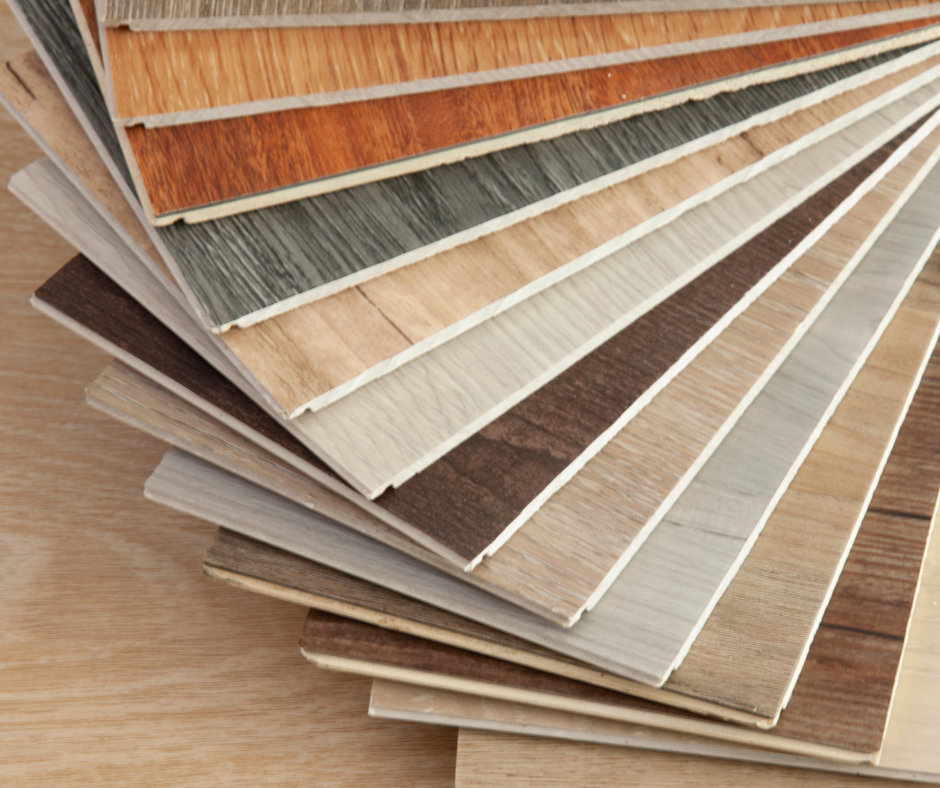
Laminate flooring is a popular choice for homeowners due to its affordability, durability, and ease of installation. It typically consists of four layers: a wear layer, a decorative layer, a core layer, and a backing layer. The wear layer is a transparent, protective coating that shields the flooring from scratches, stains, and fading. The decorative layer features a high-resolution image of wood, stone, or tile.
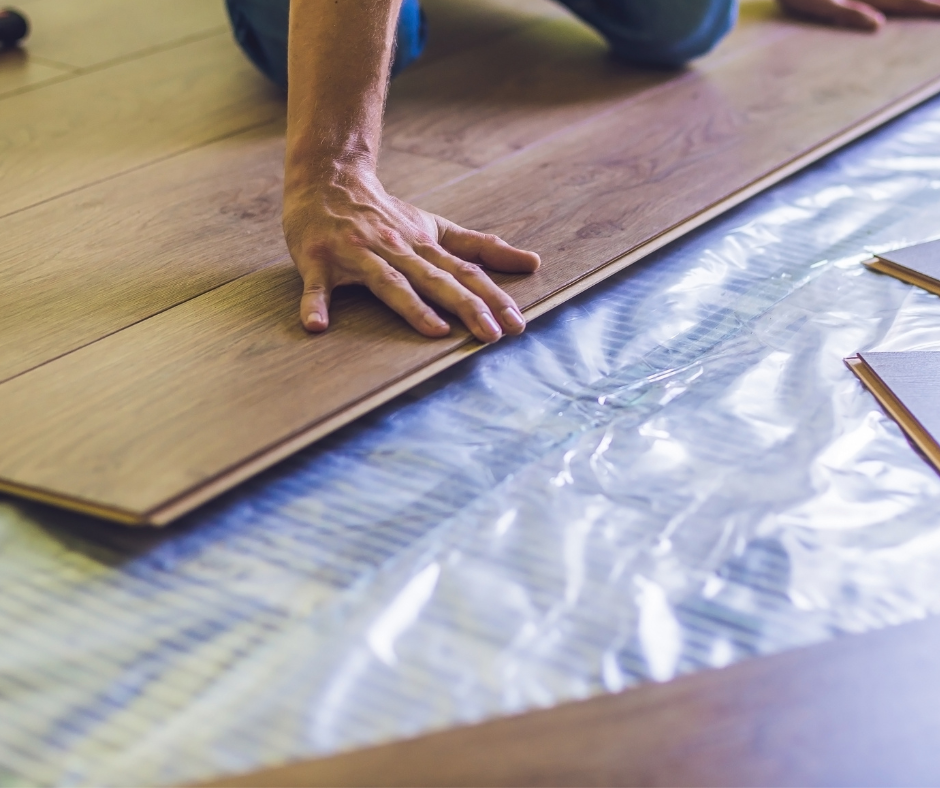
Installation methods for laminate flooring can vary, but they often involve a floating floor system where the individual planks or tiles are not glued or nailed down to the subfloor. Instead, they are locked together using a tongue-and-groove mechanism or click-lock system. This makes laminate flooring installation relatively quick and straightforward, even for DIY enthusiasts.
People often remove laminate flooring when they’re renovating, replacing damaged floors, or getting ready for something new. Knowing about laminate flooring helps you remove it safely and effectively. Understanding what it’s made of and how it’s installed makes removing it easier and less stressful.

Ready to upgrade your flooring? Contact us today for a free quote!
Assessing the Removal Area
Before you start removing the laminate flooring, take a moment to check out the area. Look around the room and see if there’s anything in the way, like furniture or baseboards. You might need to move stuff around a bit or cover things up to keep them safe.
Once you’ve figured out what needs moving, make a plan. Decide where to start and gather up all your tools before you begin. Having everything ready will make the job go smoother.
Taking the time to look around and plan things out will help you get the job done right.
Removal Techniques
Let’s gather the necessary tools and materials:
- Pry bar: Used for lifting and removing individual laminate planks.
- Hammer: Helps to loosen stubborn planks and assist with the removal process.
- Utility knife: Used for cutting through adhesive or caulking between planks.
- Work gloves: Protect your hands from sharp edges and splinters.
- Safety goggles: Ensure eye protection while working with tools.
Now, let’s take a look at various techniques for removing laminate flooring:
- Starting Point: Identifying a starting point for removal. It’s often best to start along a wall or in a corner where you can access the edges of the laminate planks easily.
- Prying Up Planks: Use the pry bar to lift the edge of a laminate plank gently. Insert the pry bar between the plank and the subfloor, then apply upward pressure to loosen the plank from its adhesive or locking mechanism.
- Removing Planks: Once the edge of the plank is lifted, continue to use the pry bar to gradually lift and remove the plank from the subfloor. Work carefully to avoid damaging the surrounding planks or the subfloor.
- Cutting Adhesive: In some cases, laminate planks may be glued down or sealed together with adhesive. Use a utility knife to carefully cut through any adhesive or caulking between planks, allowing for easier removal.
- Repeat the Process: Continue this process of lifting and removing laminate planks until the entire floor has been dismantled. Be sure to work systematically and methodically to ensure thorough removal without causing damage.
Cleanup and Disposal
Once the laminate flooring has been removed, it’s time to clean up the work area and dispose of the materials responsibly:
- Removing Adhesive: Use a scraper or putty knife to remove any remaining adhesive or caulking from the subfloor. Work carefully to avoid damaging the subfloor surface.
- Sweeping and Vacuuming: Thoroughly sweep or vacuum the subfloor to remove any debris, dust, or loose particles. This will ensure a clean surface for any subsequent flooring installation.
- Disposal: Properly dispose of the removed laminate flooring materials according to local regulations. Depending on your location, you may need to take the materials to a designated disposal facility or arrange for pickup by a waste management service.
- Recycling: Whenever possible, consider recycling the removed laminate flooring materials. Some recycling centers may accept laminate flooring for processing and reuse of materials.
- Final Inspection: Once the cleanup is complete, inspect the subfloor to ensure it’s free of any remaining debris or adhesive residue. This will ensure a smooth and level surface for any new flooring installation.
Conclusion
Removing laminate flooring can be a challenging but rewarding task that paves the way for new flooring installation or renovations. With the expertise of a Done Right Flooring professional, you can tackle this project efficiently and prepare your space for its next transformation.