Weedmat, also known as landscape fabric or weed barrier, is a practical solution for controlling weeds in your garden or landscape beds.
In this guide, we’ll walk you through the process of laying weedmat effectively to suppress weed growth and maintain a tidy outdoor space.
Whether you’re a gardener or new to landscaping, this step-by-step tutorial will help you achieve professional results with ease.
Assess Your Landscape
Installing weedmat be sure to follow these steps for effective preparation. Start by measuring the areas where you’ll lay the weedmat, such as garden beds and pathways, using a measuring tape or string for accuracy.
Check for existing weeds or plants needing attention, noting where weeds are prevalent or could compete with desired vegetation. Evaluate the soil conditions, looking for compacted soil, excess moisture, or drainage issues that may impact how well the weedmat works.
Consider the sunlight exposure in each area. Weedmat is most effective in sunny spots, blocking sunlight from weed seeds to prevent them from germinating. Account for existing landscaping features like trees, shrubs, or rocks, and plan how the weedmat will integrate with these features during installation.
Lastly, assess your budget and available resources to estimate the quantity of weedmat needed and plan for a cost-effective installation.

Ready for a beautiful lawn? Done Right Lawn Mowing Services can make it happen. Book now!
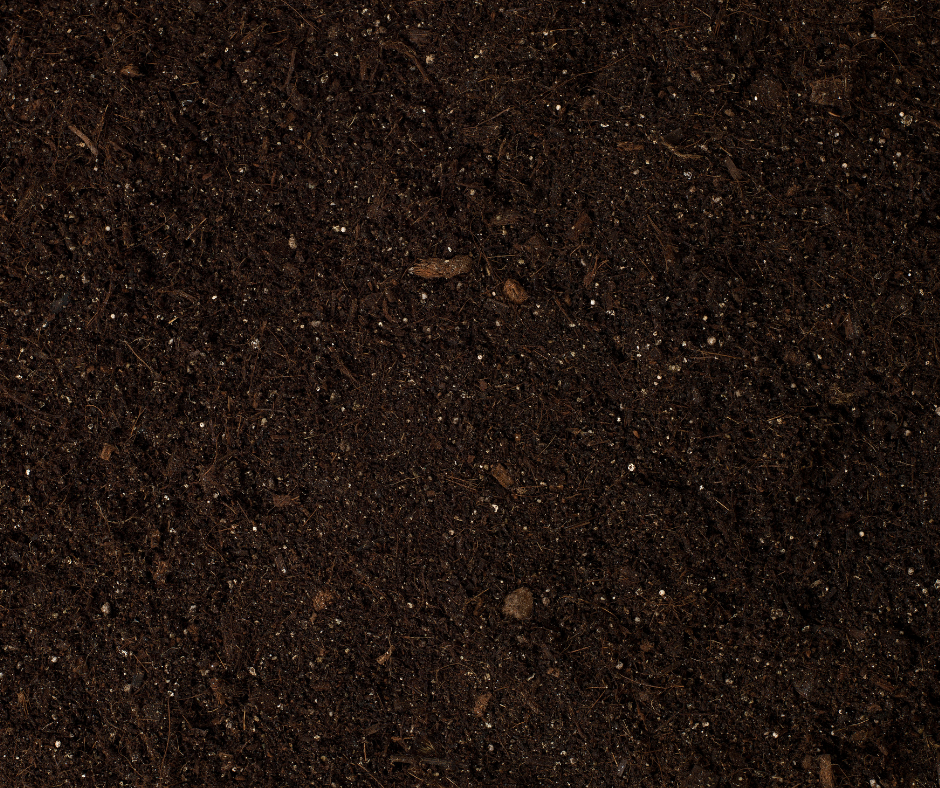
Preparing the Soil
Start by removing any existing weeds, grass, or vegetation from the soil surface using tools like a garden fork or hoe to ensure thorough removal and prevent future growth under the weedmat.
Clear the soil of rocks, stones, roots, and other debris that could obstruct weedmat installation, and rake to remove small particles, creating a smooth, level surface. After removing weeds and debris, smooth out the soil using a rake or leveling tool to achieve an even surface, eliminating bumps or depressions that could affect weedmat performance.
Consider enhancing soil fertility and moisture retention by adding a layer of organic mulch or compost, spreading it evenly and gently incorporating it with a rake or fork. Ensure the soil is adequately moist, but not waterlogged, before laying the weedmat; lightly water dry soil to ease installation and promote healthy root growth once the weedmat is in place.
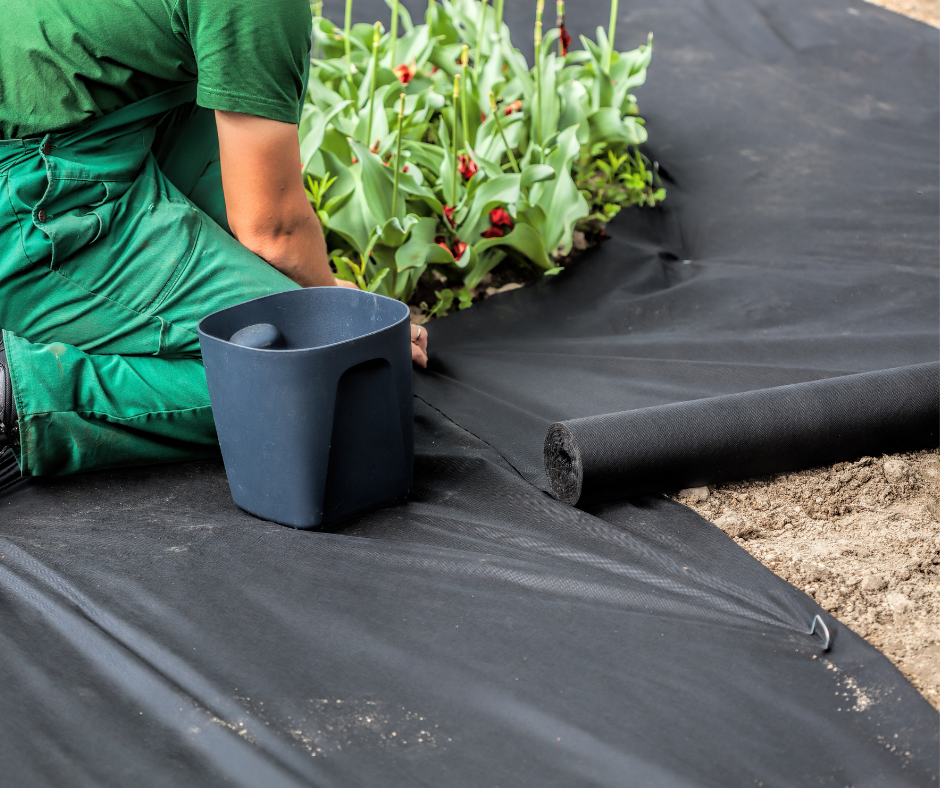
Installing the Weedmat
After preparing the soil, begin by unrolling the weedmat over the prepared soil surface, starting from one end of the area. If using multiple rolls, overlap them slightly at the seams to prevent gaps where weeds could emerge, and smooth out any wrinkles or folds for even coverage.
Align the weedmat precisely with your landscape features, such as garden beds or pathways, and adjust it as necessary to ensure complete protection of all targeted areas. Secure the weedmat firmly to the soil surface using landscape fabric staples or anchor pins every few feet along the edges and seams, driving them flush with the surface to maintain uniform tension.
Insert staples or pins through the weedmat and into the soil along edges, seams, and at intervals throughout the interior to ensure consistent tension and prevent sagging. Finally, trim any excess weedmat with scissors or a utility knife to achieve a tidy appearance, leaving enough overlap around staples or pins to maintain its integrity.

Schedule Your Lawn Service Today: Transform your lawn with Done Right. Book your mowing service now!
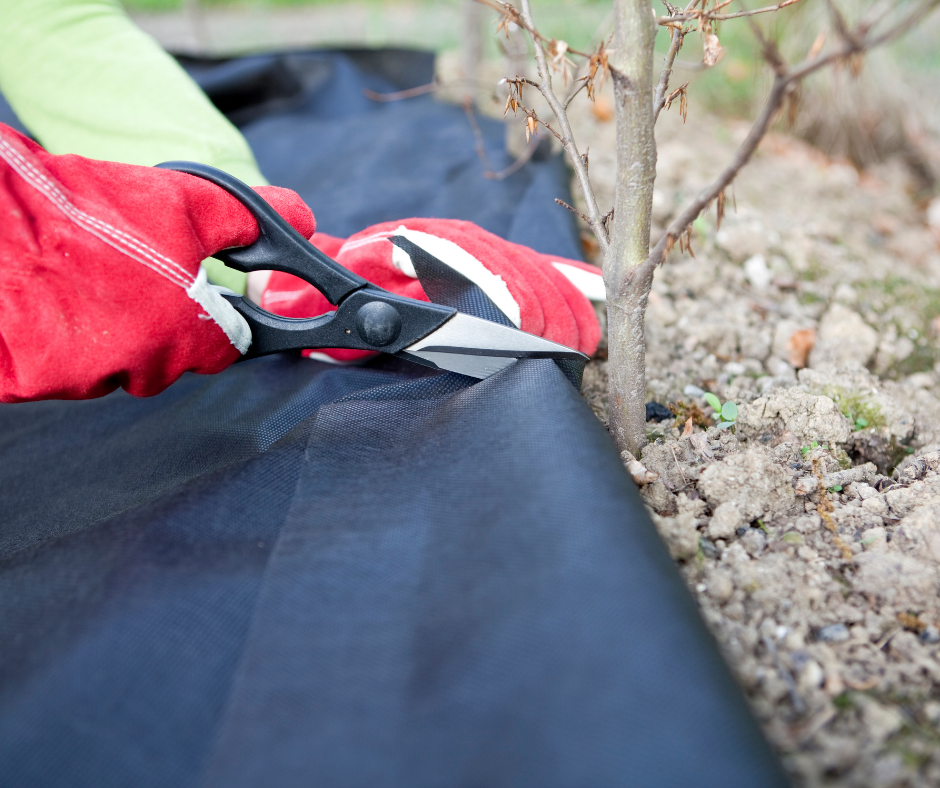
Cutting and Shaping
Start by using sharp utility knives or heavy-duty scissors designed for cutting weedmat to ensure clean cuts without fraying. Measure and mark the area around existing plants or features directly onto the weedmat with a pencil or marker for guidance.
Carefully cut along the marked lines with steady pressure, ensuring smooth and even cuts, especially around curves or intricate shapes. Leave ample space around plants or trees to accommodate growth, aiming for a few inches perimeter for root expansion and airflow. After cutting, securely tuck the edges under existing mulch, decorative rock, or soil to seamlessly blend into the landscape.
Anchor the edges firmly to maintain the weedmat’s barrier function and prevent shifting. If using multiple pieces or overlapping sections, ensure seams are securely joined to prevent gaps, using landscape fabric staples or adhesive tape for continuous coverage.
Finishing Touches
After installing weedmat, there are many options to choose to make your space stand out such as mulch or decorative rock that can both imporive appareance and keep weeds at bay.
Start by selecting the type of material you want from mulch, decorative rock, or gravel that complements your landscape design. Things like wood chips, bark, river pebbles, crushed stone, or gravel in various colors and sizes.
Spread the material evenly across the weedmat-covered area using a rake or shovel, ensuring seamless coverage to block sunlight and prevent weed growth. Maintain a consistent layer thickness of 2-3 inches to effectively suppress weeds and retain moisture, allowing for water infiltration and airflow.
Avoid overloading the area with excessive material to prevent strain on the weedmat, which can lead to tearing or displacement over time. Pay attention to the edges of the weedmat, ensuring they’re covered by the material and securely tucked under or anchored with landscape fabric staples to prevent displacement.
Step back to inspect the area for uniform coverage and a cohesive look, making adjustments as needed for a balanced and visually appealing result.
Don’t stress about your yard. Done Right Lawn Mowing Services does section tidy-ups too. Call us!
In Conclusion
Laying weedmat is a practical and effective method for controlling weeds and maintaining a tidy landscape without the need for constant maintenance. Thoroughly examing your landscape, preparing the soil, installing the weedmat properly, and adding finishing touches, you can create a weed-free environment that brings out the beauty of your outdoor space.
Remember to choose the right weedmat material and thickness for your specific needs, and ensure proper coverage and alignment during installation. With attention to detail and the implementation of best practices, your weedmat installation will provide long-lasting weed control and contribute to the overall health and vitality of your landscape.