
In this guide, we’ll explore the essential steps to set up an efficient irrigation system for your garden or lawn. Whether you’re a homeowner or a commercial landscaper, understanding the basics of irrigation can help you save water, time, and effort while keeping your outdoor space looking its best.
Assessing Your Needs
Before setting up an irrigation system, it’s important to thoroughly evaluate your lawn’s unique requirements. This assessment ensures that you choose the right system to meet your lawn’s watering needs effectively while also conserving water and minimising waste.
- Measure Your Lawn Area: Grab a measuring tape or a laser distance measurer to figure out the length and width of your lawn. Multiply these measurements to find the total square footage. This step gives you vital information to understand how much water your lawn needs.
- Slopes and Terrain: Take note of any slopes, hills, or uneven ground in your lawn area. These features can affect how water flows or collects in certain spots. Knowing your lawn’s topography helps you plan where to place your irrigation system to ensure water gets evenly distributed.
- Soil Type: Different soil types hold water differently. Sandy soils let water drain quickly, while clay soils retain moisture for longer. Do a soil test to determine your soil type and how well it drains. This info helps you pick the right irrigation methods and schedule watering times to avoid over or under-watering.
- Plant Water Needs: Think about how much water the plants in your lawn or garden need. Some plants might be thirstier than others, while some can handle drought better. Group plants with similar water needs together to use water more efficiently and avoid wasting it. You might even want to set up separate irrigation zones for different plant types to give them custom watering schedules.
- Water Source: Figure out where your irrigation system will get its water from. Whether it’s from the city supply, rainwater you’ve collected, or a well, knowing your water source helps you choose the right irrigation components and calculate how much water you’ll be using.
- Additional Equipment: Depending on the complexity of your irrigation system and installation process, you may need additional tools and equipment such as PVC pipe cutter, pipe wrenches, pipe fittings, tubing, emitters, sprinkler heads, connectors, clamps, pressure regulators, filters, backflow preventers, trenching tools or trencher, marking paint or flags, and safety gear like gloves and goggles.
Choosing the Right System
Choosing the right irrigation system is key to keeping your lawn or garden healthy and thriving. Knowing your options helps you make a smart decision based on what works best for your needs and preferences.
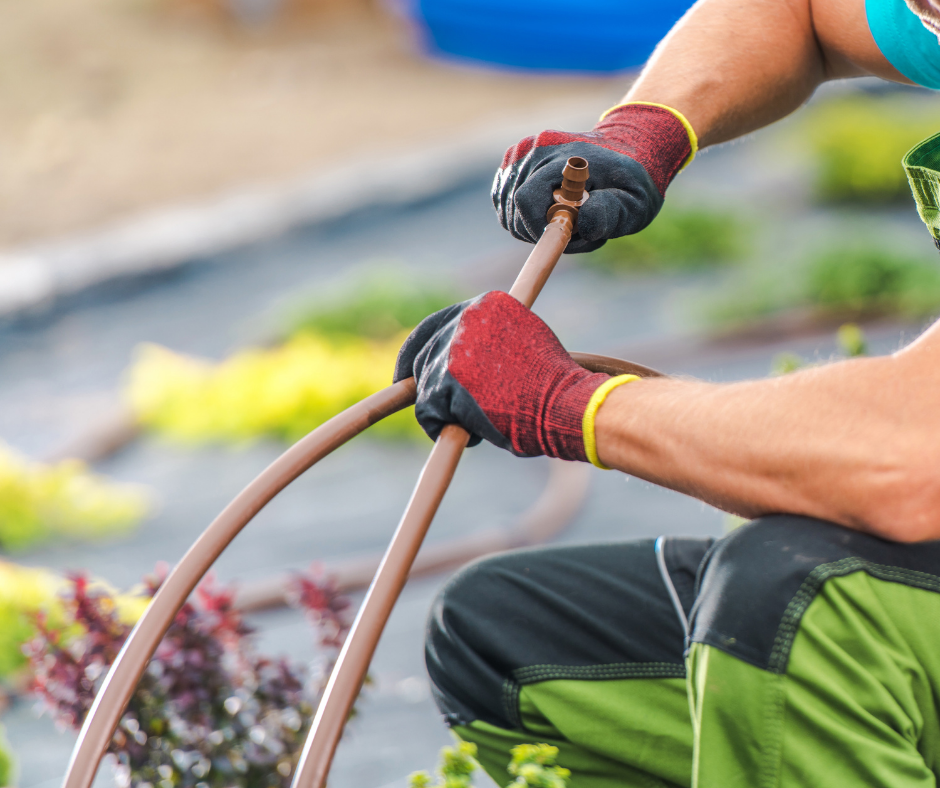
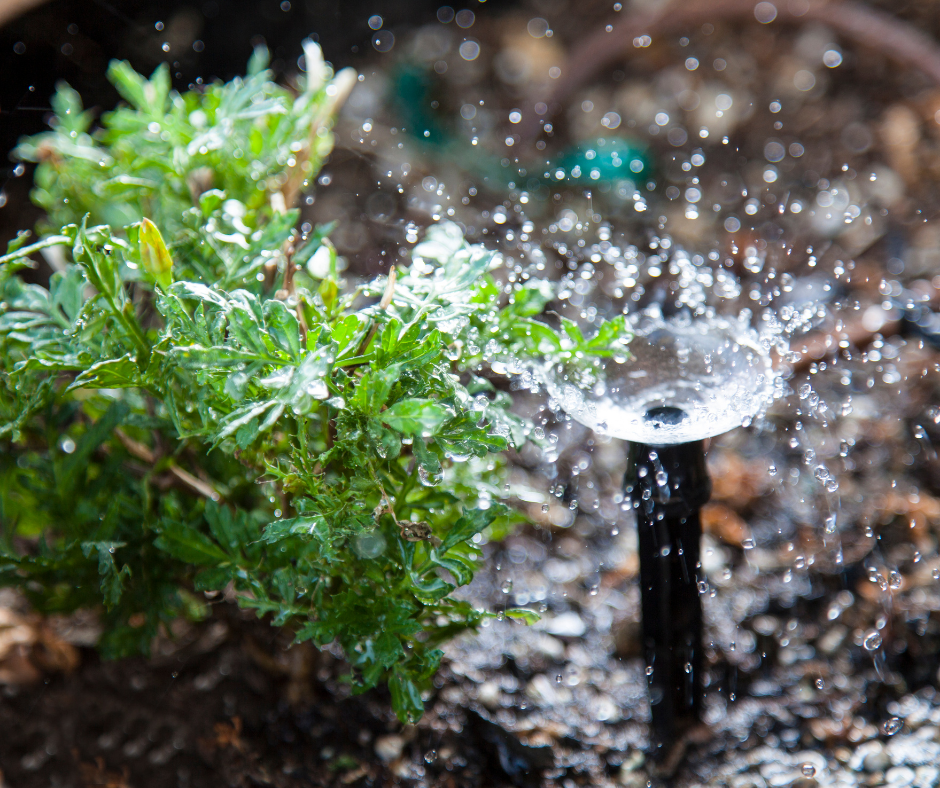
- Drip Irrigation: This system delivers water straight to plant roots through tubing and emitters. It’s super efficient, targeting individual plants or specific areas to minimise water waste. Drip irrigation works great for gardens with different plant types and can be customised to fit different watering needs.
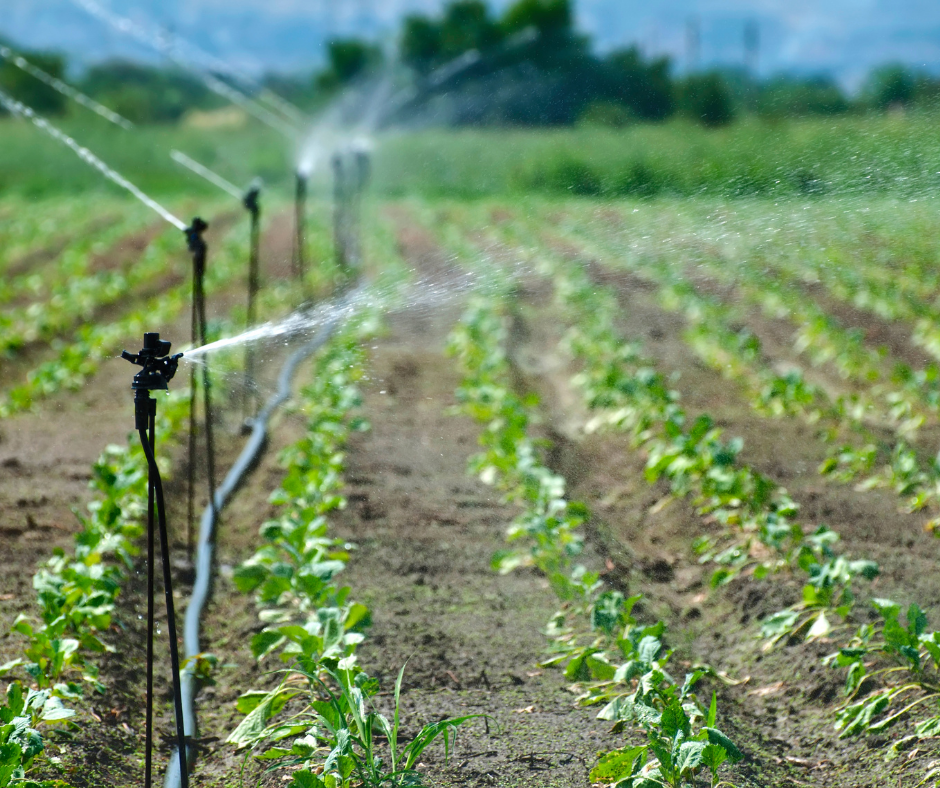
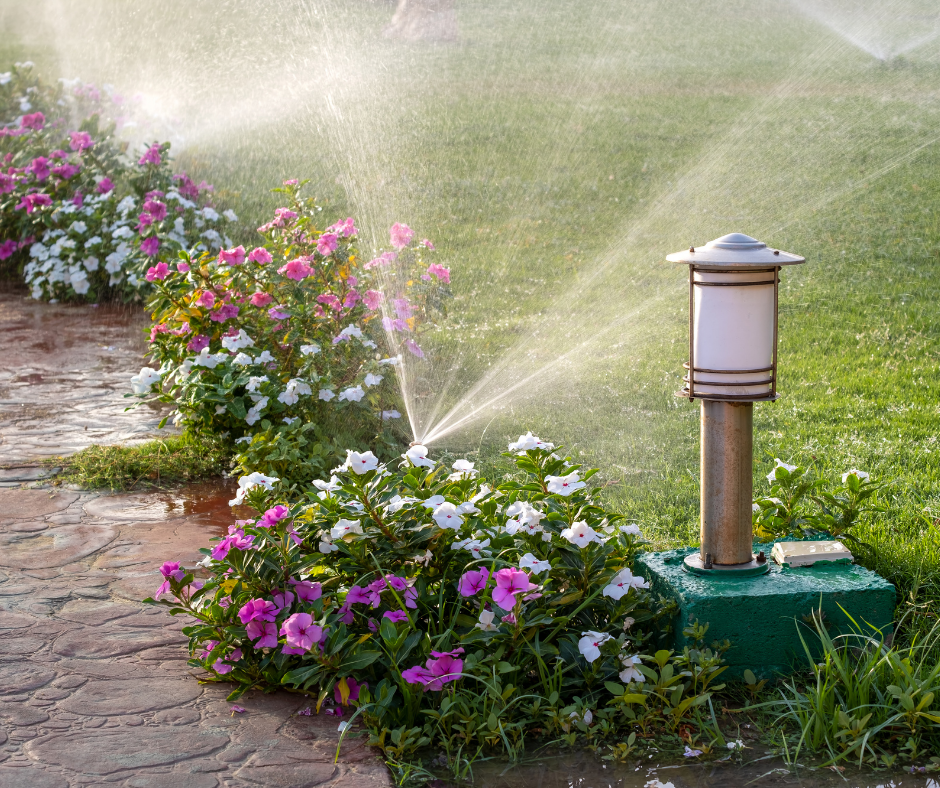
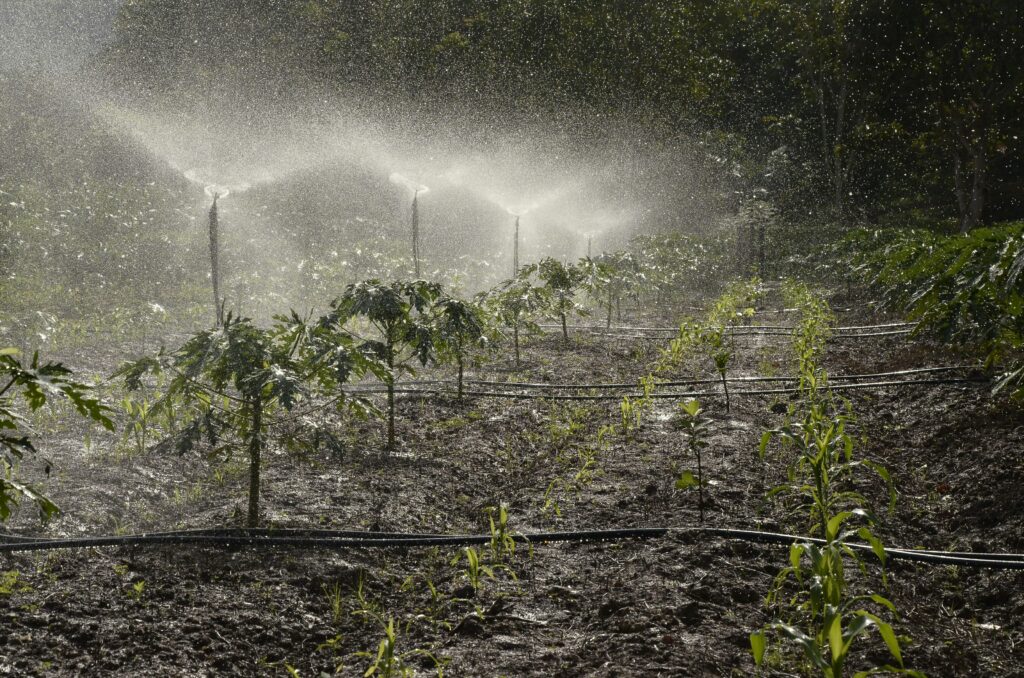
- Sprinkler Systems: Sprinklers spread water over a larger area using rotating or stationary spray heads. They’re perfect for big lawns and can be adjusted to spray water in different patterns and strengths. Look for sprinkler heads with adjustable angles and flow rates to make sure water gets evenly distributed without spraying where it’s not needed.
- Soaker Hoses: Soaker hoses are porous, meaning they release water slowly along their length, giving the soil a nice, steady drink. They’re ideal for watering flower beds, veggie patches, and other areas with lots of plants close together. Soaker hoses are affordable and easy to set up, needing little upkeep.
- Water Efficiency: When choosing an irrigation system, think about water efficiency to avoid waste and save resources. Pick systems with features like adjustable flow rates, timers, and moisture sensors to use water wisely based on plant needs and weather conditions.
- Coverage Area: Consider how big your lawn or garden is and how it’s laid out to figure out the right coverage area for your irrigation system. Calculate water flow rates and patterns to make sure every spot gets enough water without getting too much.
- Installation Complexity: Think about how tricky it’ll be to install and maintain the irrigation system. Some systems might need a pro to install, while others can be set up by homeowners with basic tools and skills. Keep installation costs and time in mind when making your choice.
Planning Your Layout
Planning your irrigation system layout is key to making sure water gets where it needs to go efficiently, without any waste. Thinking about your lawn or garden’s layout and watering needs, you can set up a system that works like a charm.
- Map it Out: Sketch a map of your lawn or garden, marking down things like existing features, plants, and areas that need watering. Get accurate measurements to figure out how big each zone is and how far apart water access points are.
- Know What Needs Water: Think about what each part of your lawn or garden needs in terms of watering. Consider things like the type of plants, the soil, how much sun they get, and if there are any slopes. Group plants together based on their watering needs to make watering more efficient.
- Split into Zones: Divide your lawn or garden into different watering zones based on their needs and how much water your system can handle. You can split them up by plant type, sun exposure, soil moisture, or anything else that affects how much water they need.
- Place Water Access Points: Figure out where to put things like outdoor faucets or where to connect your irrigation lines so you can easily hook up hoses or tubing to your system.
- Plan Irrigation Lines: Decide where to put your irrigation lines to make sure they cover the right areas and distribute water evenly. Position main supply lines and smaller ones to make sure water pressure stays consistent and all areas get enough water.
- Add Emitters or Sprinkler Heads: Install things like drip lines or sprinkler heads in each zone based on your plan. Adjust how far apart they are and how much water they release to match each zone’s needs and make sure water gets everywhere it needs to.
- Slopes and Drainage: Take into account any slopes or how water drains when planning your system to avoid water running off or eroding the soil. Use things like check valves or pressure regulators to keep water pressure steady and avoid overwatering on slopes.
- Test and Tweak: Once your system’s all set up, test it out to make sure it’s working like it should and covering everything it needs to. Make any adjustments needed to how much water gets released or where it goes to make sure everything’s just right.
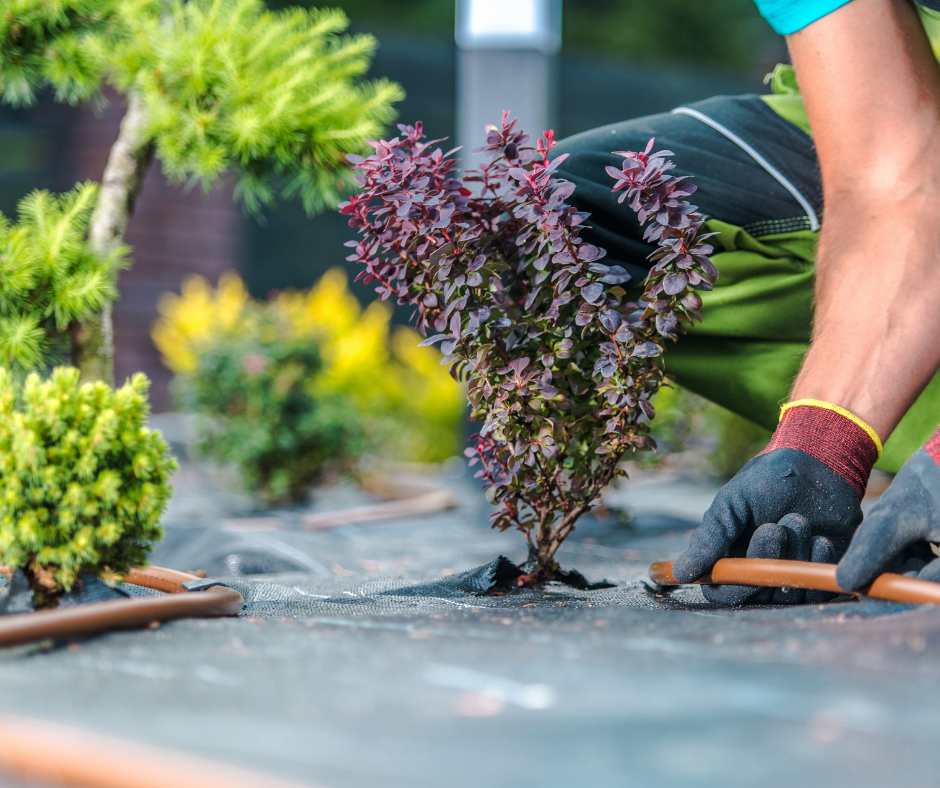
Installation Process
Installing an irrigation system requires careful planning and attention to detail to ensure it works well and lasts a long time.
- Plan Ahead: Before you start digging, double-check your layout plan and make sure you know where any underground utilities are to avoid hitting them accidentally.
- Get the Site Ready: Clear away any debris, rocks, or other stuff that might get in the way of installation. Mark out where your irrigation lines, valves, and other parts will go using paint or flags.
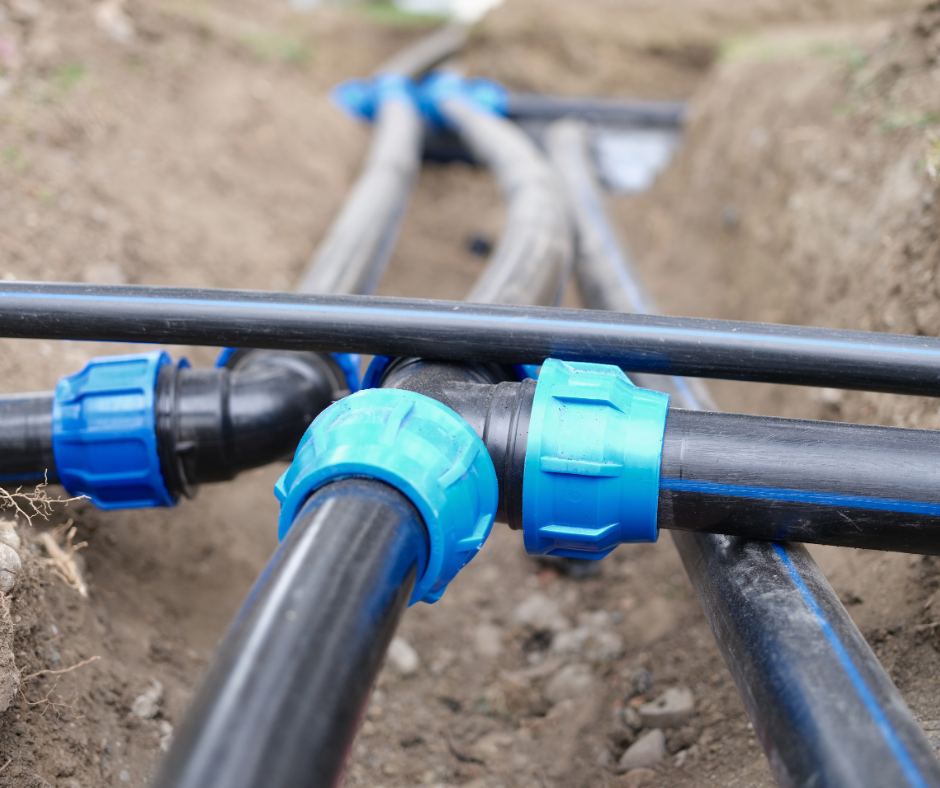
- Lay Down the Main Lines: Start putting in the main supply lines following your plan, making sure they go where they’re supposed to and slope the right way for water to flow properly. Use trenching tools or a trencher to dig the trenches to the right depth, adjusting as needed for things like frost protection.
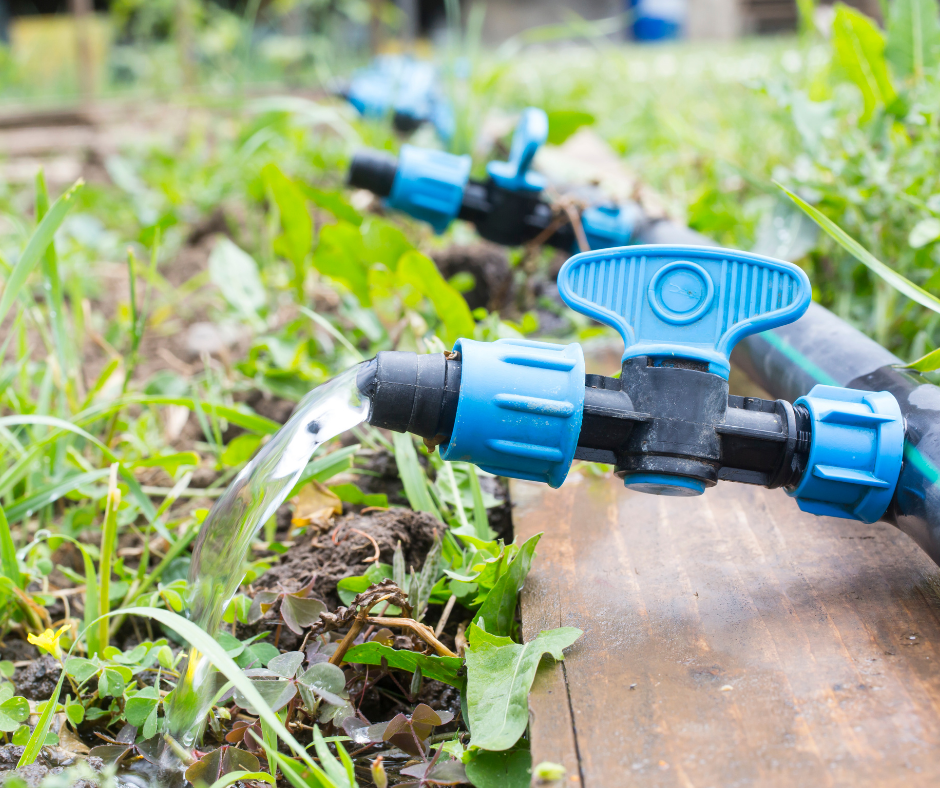
- Put in Valves and Fittings: Install things like control valves and backflow preventers as shown in your plan. Make sure everything’s lined up right and connected securely to avoid leaks or problems later on.
- Add the Irrigation Lines: Lay out the smaller irrigation lines according to your zoning plan, making sure there’s even spacing between emitters or sprinkler heads. Use the right connectors and clamps to join pipes and fittings, and avoid sharp bends that could slow down water flow.
- Install Emitters or Sprinkler Heads: Put in things like drip tubing or sprinkler heads where they’re supposed to go in each zone. Make sure they’re in the right place and pointing the right way so water gets spread out evenly.
- Connect to the Water Source: Hook up your irrigation system to wherever your water’s coming from, whether it’s the city supply, a well, or a rainwater tank. Add things like pressure regulators and filters to make sure the water’s clean and at the right pressure for your system.
- Test it Out: Once everything’s installed, run your system and check each zone to make sure it’s working right and covering everything it’s supposed to. Look for leaks or other problems and adjust things like flow rates or valve settings as needed.
- Tidy Up: After testing, fill in the trenches carefully and pack down the soil so it doesn’t sink later on. Fix up any areas of your lawn or garden that got disturbed during installation and clean up any mess left behind.
- Consider Getting Help: If you’re not sure about any part of the installation process or if your project’s complicated, think about hiring a pro to help out. They can make sure everything’s done right and save you time and headaches down the road.
In Conclusion
Setting up an irrigation system for your lawn or garden can significantly simplify the task of watering while promoting healthier plant growth and conserving water resources.
Assessing your landscape’s needs, selecting the appropriate system, and following proper installation procedures, you can create an efficient and effective irrigation solution tailored to your property.
Remember to regularly maintain and monitor your irrigation system to address any issues promptly and ensure optimal performance